Hello Everyone!
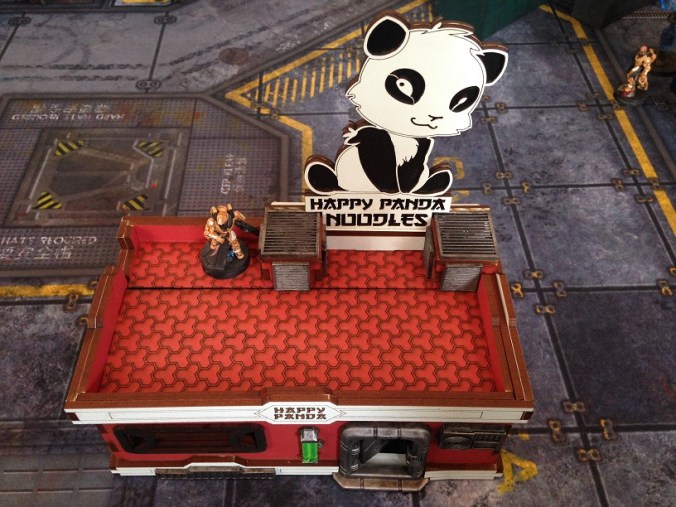
In Part 2 (and currently the last part) of my Antenocitis Workshop Order Review we’ll be taking a look at the building I had wanted to order for over a year now, and finally got around to order. The Happy Panda Noodles Restaurant!

I can’t say anything about delivery times because I ordered the building from a german distributor since that turned out to be cheaper with the pound to euro conversion and some very weird calculation problems I had on the Antenocitis Workshop Page (The normal price already included tax, then it added tax again, and then on my paypal payment site it wanted to add tax again! making everything cost almost double the original price in the end……maybe it’s some problem with where I order from (Austria) or with the conversion itself or whatever, or maybe I was just experiencing some weird bug.)
The Building comes with pre painted MDF and at first I was quite surprised when I opened the box, as some of the white parts (mostly the Panda itself) seemed VERY burned, to the point where I assumed they had some sort of production error or old laser lense…

But after reading the very detailed and informative instructions (which sadly were missing the last page for me..), it turned out that the white parts actually come with a protective sheet on them, and once you pull that off the MDF is beautifully white behind it.

Getting the sheet off can be a bit tricky for some parts, and I often used the back of my hobby knife to gently scrap it off, which yielded good results.
When assembling this kit I recommend you take extra time to very carefully read the instructions, and make extra sure to assemble the basic structure of the building properly.

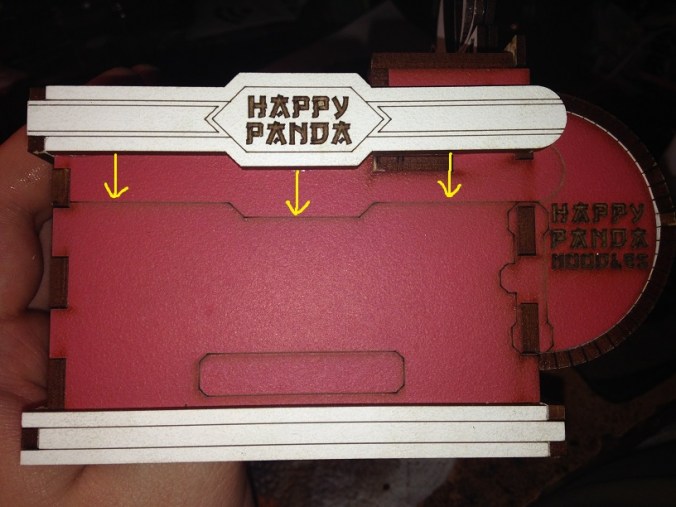
If, like me, you don’t notice a slight bend in one of the slot in parts, you won’t notice this right away, but once you come to the later steps, you’ll suddenly be faced with something like this:
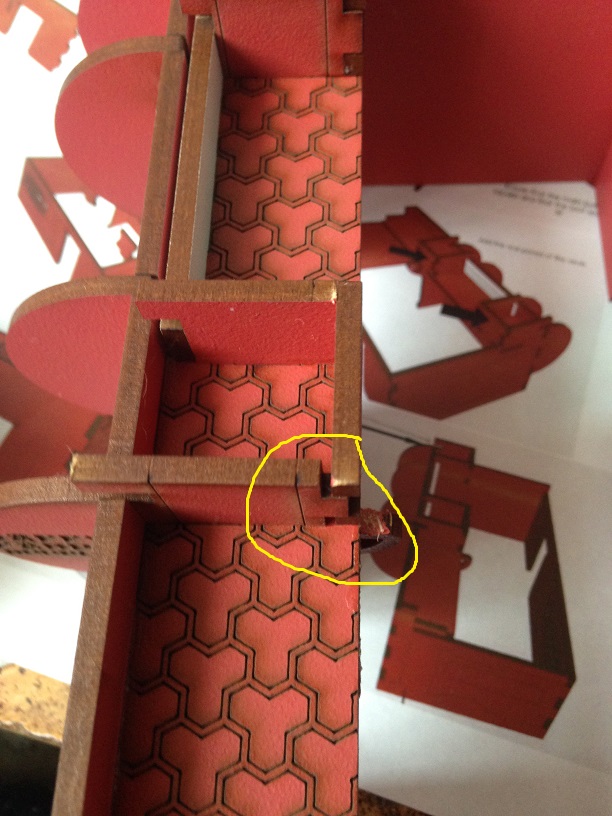
And it will be waaaaay to late to do anything about it because ripping the wall off will do terrible damage to the pre painted part of it, forcing you to repair and repaint it (if you even happen to have that specific colour of red around, which I didn’t…)
The round front part of the building slots in and fits surprisingly good and isn’t fragile at all as I first feared it would be, a very smart design choice there I must say! (Note that this part comes with a protective sheet on BOTH sides!)

Now it was at this part that I did the biggest error in my construction of this kit. I was so focused on making the roof section fit properly, that I didn’t notice a big error I was making while attaching the white parts of the side decorations.
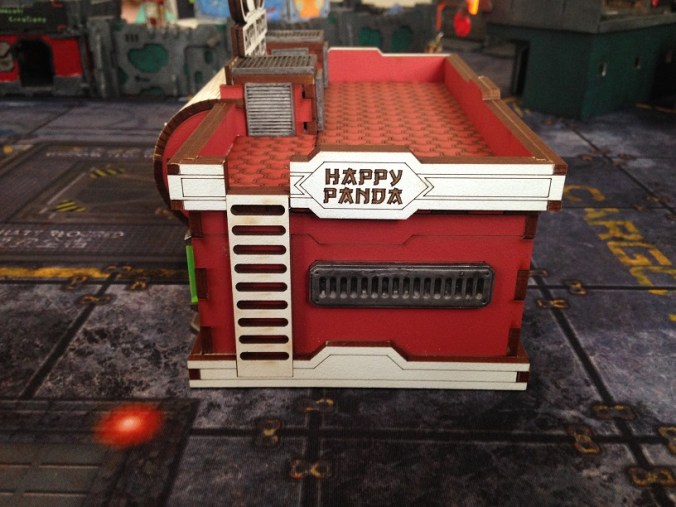
On the front and the side everything looked fine, but as I turned (after a little time skip due to family distractions ;-P) to the back, I realized the terrible mistake I had made, and also had to realize that I no longer could fix it without brutally damaging the roof sections of the building……I had glued on the white parts too high…

(This part of the building shows signs of another metal grey bit with neon lights that should be added here, however this part wasn’t included in my set and the neon light stick was too short to fill the part as well if it would have been included…so maybe this is a leftover from their design process, or an alternative position.)
Now this is not the end of the world for this building, everything still fits together nicely and looks good in the end, but I was still very annoyed by my own carelessness, and so I hope this Review can prevent others from making the same stupid oversight.
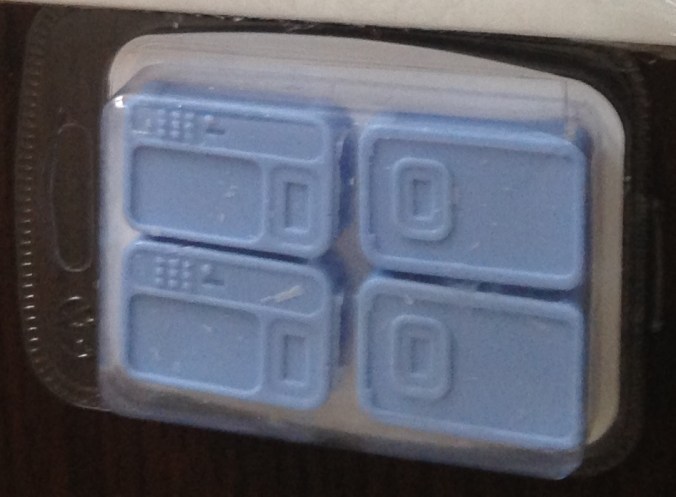
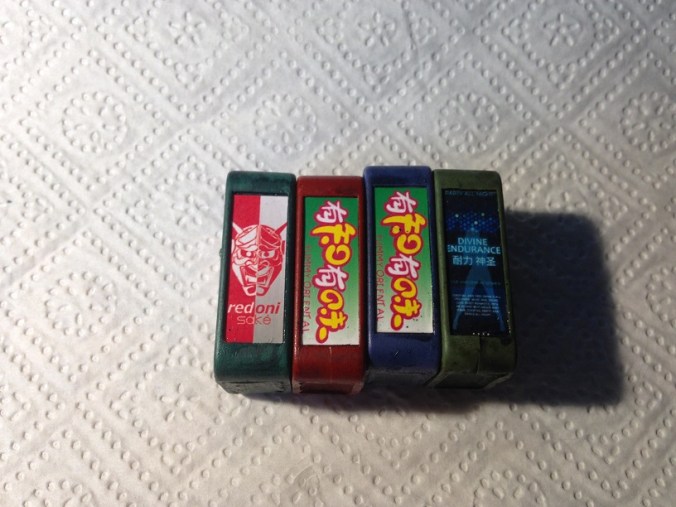
Now as mentioned before this lovely product comes with already pre painted MDF and metal grey plastic/resin parts, which means that unless you really want to, there is actually no painting required.
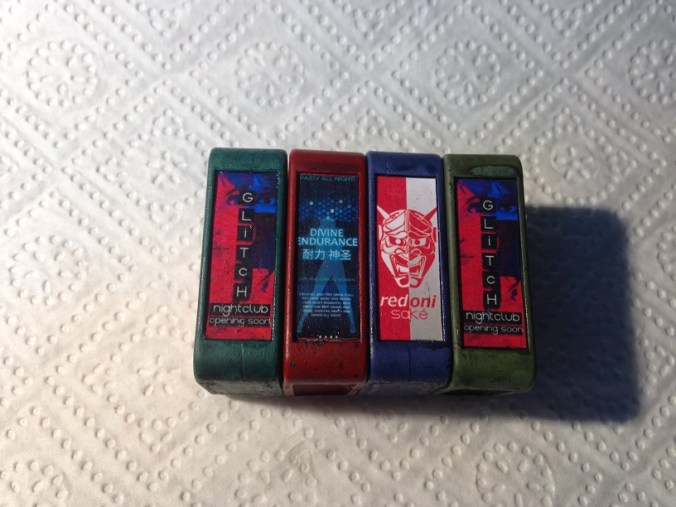
Still I couldn’t stand having metalic grey products standing around in the interior of the building (yes this thing actually comes with interior!), so I ended up painting all the plastic/resin parts in the end anyways.
(As always, Miniatures not included and only added for scale)
Assembled (wrong) and Painted Happy Panda Noodles:
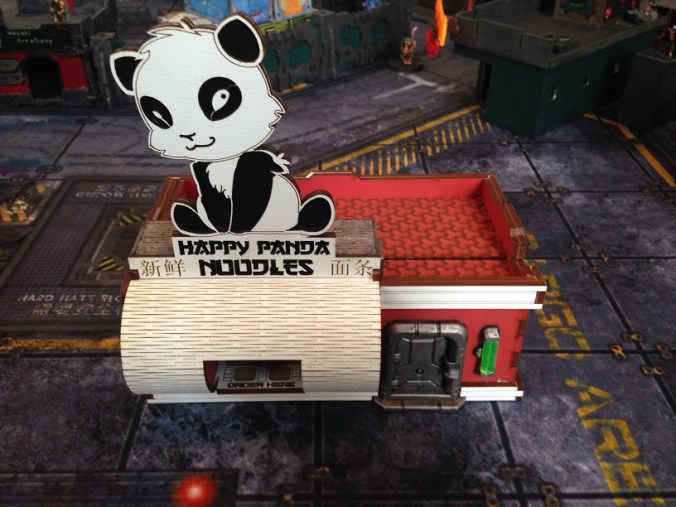

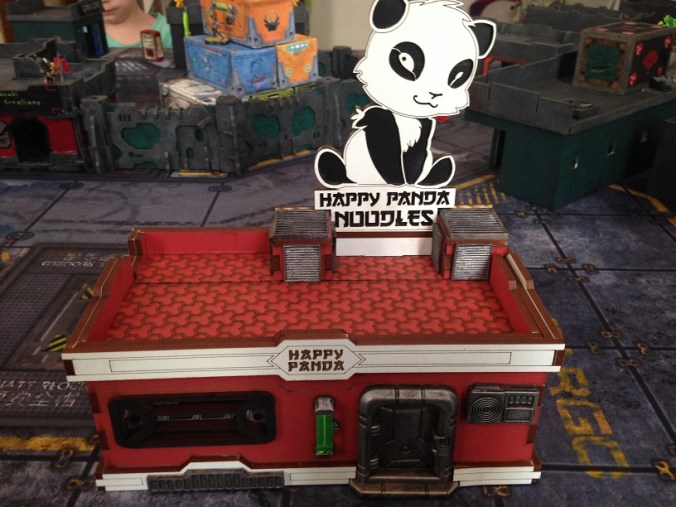


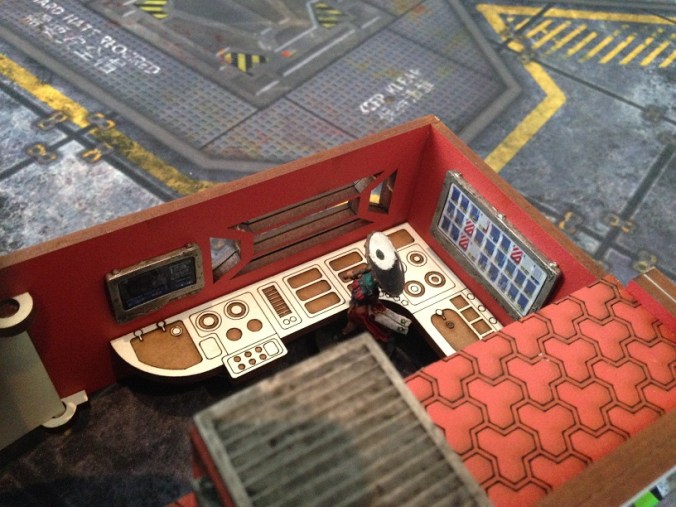

Everything looks quite awesome once assembled, and I absolutely LOVE the interior details and the way the doors where made (they swing opend and closed very easily), but as the last picture indicates, i have had a BIG problem with these 3 parts of the interior.
I don’t know if it’s because I screwed up at assembly somewhere, or if the mold was faulty or I really was supposed to do what I had to, but for me the three pieces where too big and too tall to fit into their designated spot, and trying to cram them in instantly popped the side out of the building or wouldn’t allow for the top to fit in smoothly.
So I had to cut away several layers of plastic/resin from these pieces to actually make them fit in, which not only required a lot of work, but obviously took away from their looks as well. (and I kind of messed up by cutting away from one at the top because it seemed the best part, only to notice that the other one had packages at that spot, forcing me to cut away at the bottom…).
Another part that was annoying me a bit was the fact that this lovely building, which even includes an interior, for some unknown reason does NOT include a floor! Why? Whyyyy??? The entrances even have a little step which would have made adding a floor very easy, and the interior basically screams for a floor, but nope, non included, and now every picture I take of the interior shows the outside floor….
So yeah, this turned out to be a very complicated construction process for me, and to some degree I am not sure whether that wass due to my own errors, or design/mold flaws.
However I will give the Happy Panda Noodles Restaurant a 9 out of 10. It is almost perfect, and if it were not for the not fitting interior pieces and the missing floor, this would have been an easy 10, but no floor in a building like that is actually a huge deal for me, and having to cut apart stuff to make it fit is quite troublesome for assembly.
I do however recommend the Happy Panda Noodles Restaurant for every Infinity player, no matter the board you are intending. This cheeky Panda (my wife keeps insisting that it looks like a cat pretending to be a Panda) could easily sneak one of it’s branches into the bloody desert, or an icy mountain top if you ask me, and it will greatly enchance any table you place it on I think.and I can’t wait to play my first game with it on the table!