Hello Everyone!
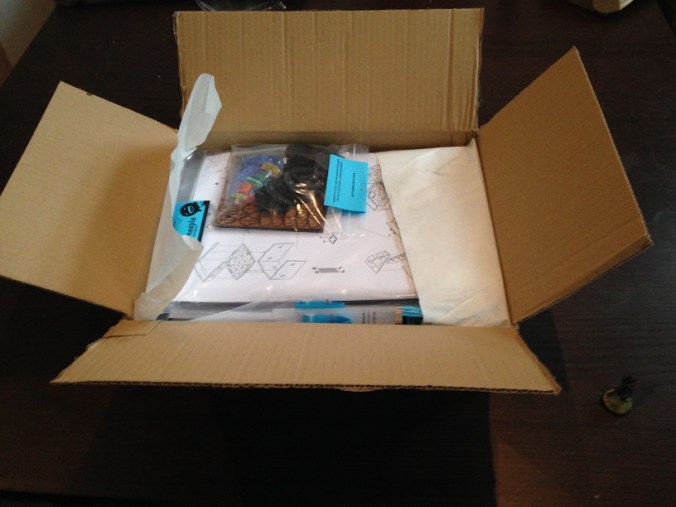
In this Part we will take a look at one of the newest products from Customeeple, and most likely one of their most impressive ones, the Infinity Forbidden Palace!
http://www.customeeple.com/product/infinity-forbidden-palace
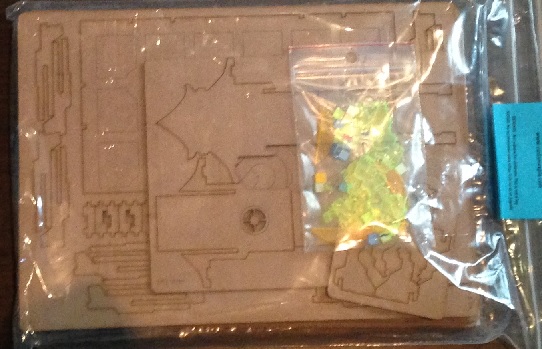
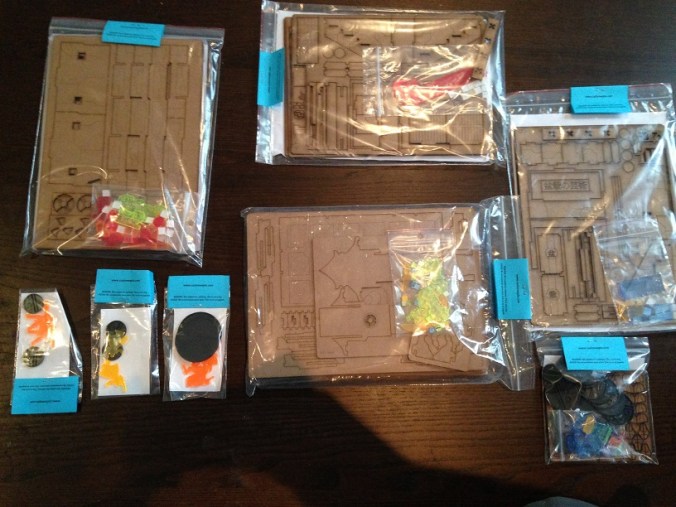
The Set comes with a short instruction sheet which details the most important parts of the assembly.
So far I haven’t seen any downloadable pdf Version of the Instruction Sheet like there were in the previous parts of the Customeeple Reviews.
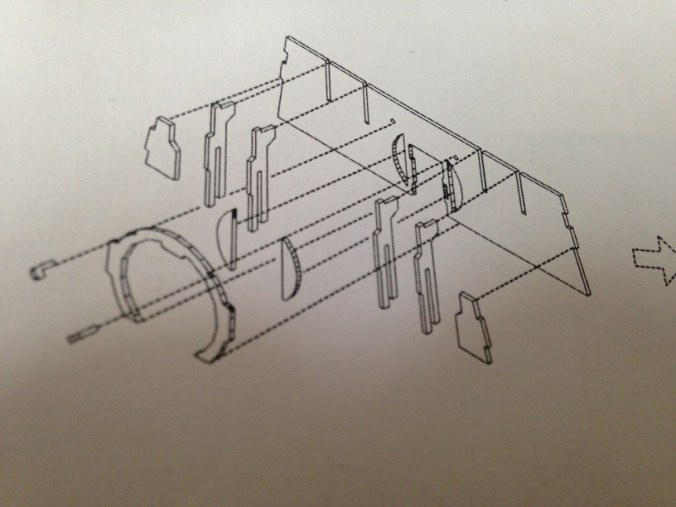


The Instructions are for the most part sufficient, although I did have some parts where I didn’t see the specific details I would have needed to properly assemble it (The main problem being the supoort struts that hold up the roof of the Base Building).

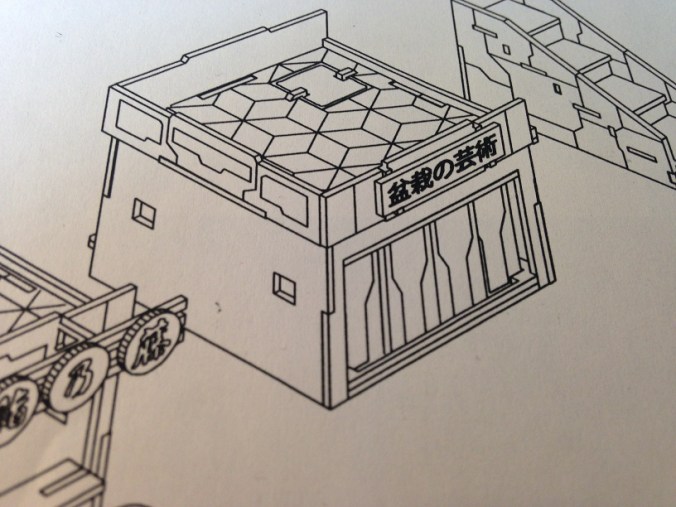
It seems like certain struts where ment for certain sides of the building (one is slightly angled, the other side isn’t) but on first glance I didn’t see that difference on the pieces themselves and the instructions, and I only noticed it once I tried to put on the roof of the building, at which point it was already too late to reassemble as the glue had dried already….so I did what had to be done….and cut it to fit ;-P
That aside the assembly of the buildings was very easy, the hardest part most likely being the roof tiles, which are made of very thin wood (mdf?) sheets which you have to bend into place while they dry, which isn’t too hard, but you have to be careful not to break them or deform them while doing so.


Note that I didn’t add a little round part on the very top of the building as I simply liked the building more without it.
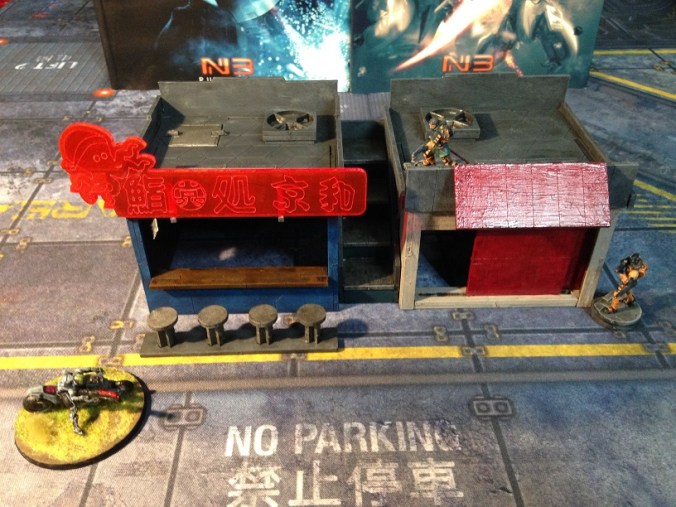
Since I most likely was one of the first people to order this lovely set (I just couldn’t resist as I saw it..) my order came with a little flaw. One side of the Entrance Section’s roof wasn’t mirrored, but had the same surface as the right side, which ment once glued in place it had no texture on the upper side, but on the lower side.
I think it’s at this point that I should mention the wonderful Customer Service that Customeeple has. I had contacted them about a problem with shipping fees being charged although I had ordered above the “No shipping fees” threshold, and I had gotten the shipping fees refunded the same day.
And once I wrote them about the wrong roof print (more to warn them and help them improve their product than to receive a replacement since I had already finished painting that part at the time), they instantly sent me the correct replacement part free of charge, and also included another set of Plastic Parts for the roofs.
Now the last part might be important because I originally thought that the colour of the roof lights would always be Orange (which I liked) but it turned out that these parts are made of left over parts from production, and the colour can thus vary depending on what they previously did (which is why I received a bit of a mix, and mostly neon yellow parts instead of orange).
Once I mentioned that I would have prefered the Orange ones they sent them to me free of charge with the corrected roof part, and informed me that if I ever wanted a specific plastic colour, I should simply tell them when I make the order so they could assure I would get the one I like right away.
So keep in mind, if you want a specific colour for the Neon Parts of your order, let them know in advance and they’ll be happy to deliver if possible.
Also the guys from Customeeple where very friendly during our E Mail conversations, and answered within a day or two at most. (Beware however, some of their E Mails can end up in your Spam Folder!)
Now, onwards with the Review!
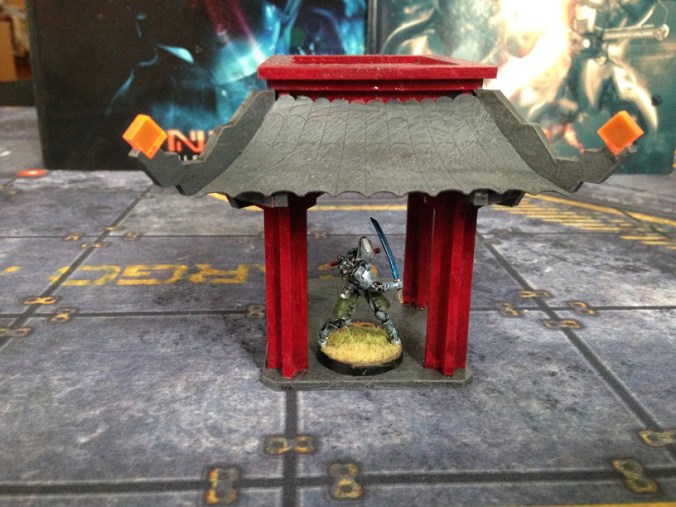
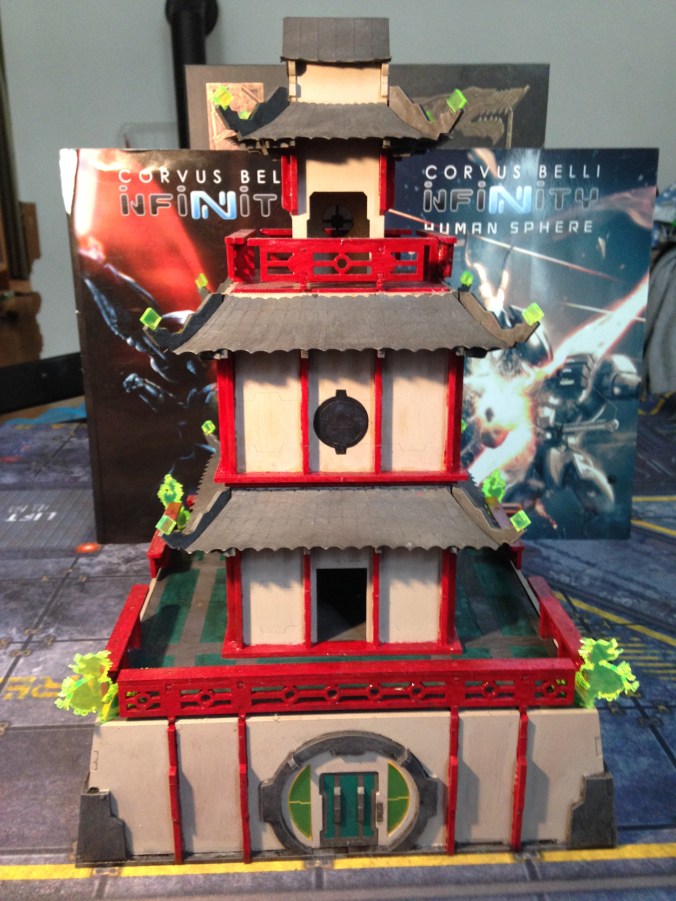
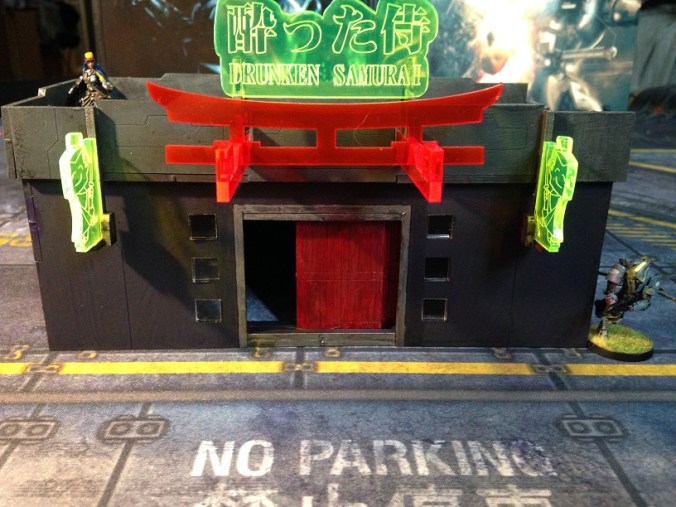
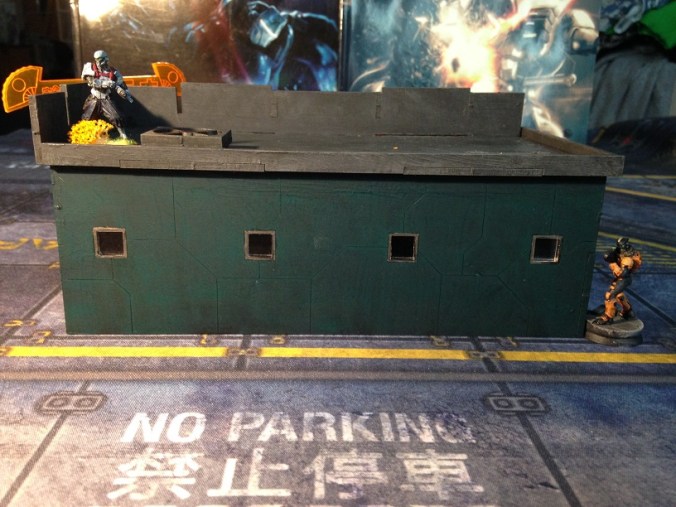
Once you have assembled this behemoth of a terrain piece, it’s time to paint it up. Once again I painted this thing by hand, and went for a dirty look to fit into the style of my other terrain. Also I went for a more old fashioned colour scheme since I wanted it to look more than an old Japanese Castle than a High Tech Castle, because that’d fit in quite well with my ongoing Story and Characters.
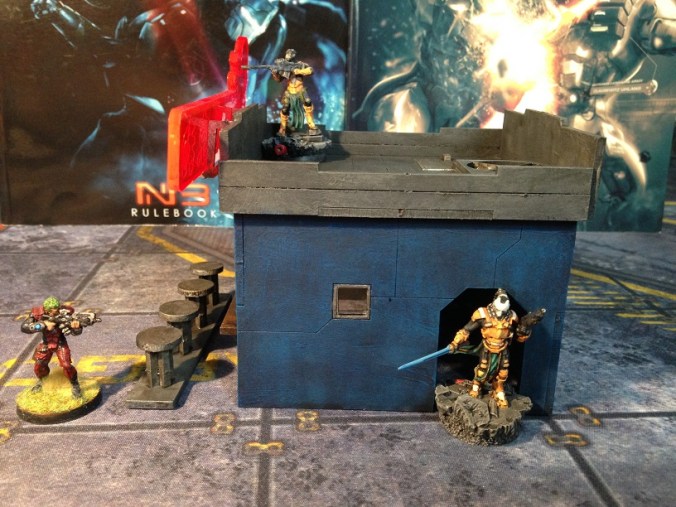
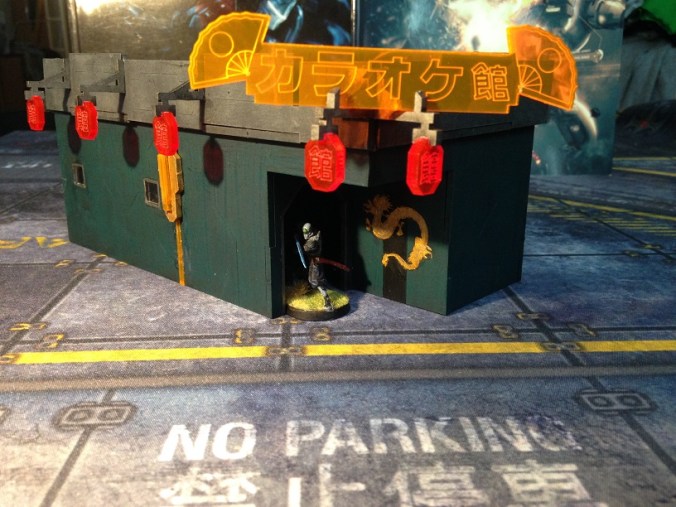
(As always, Models are not included and are only there to show scale)
The Forbidden Fortress Painted:


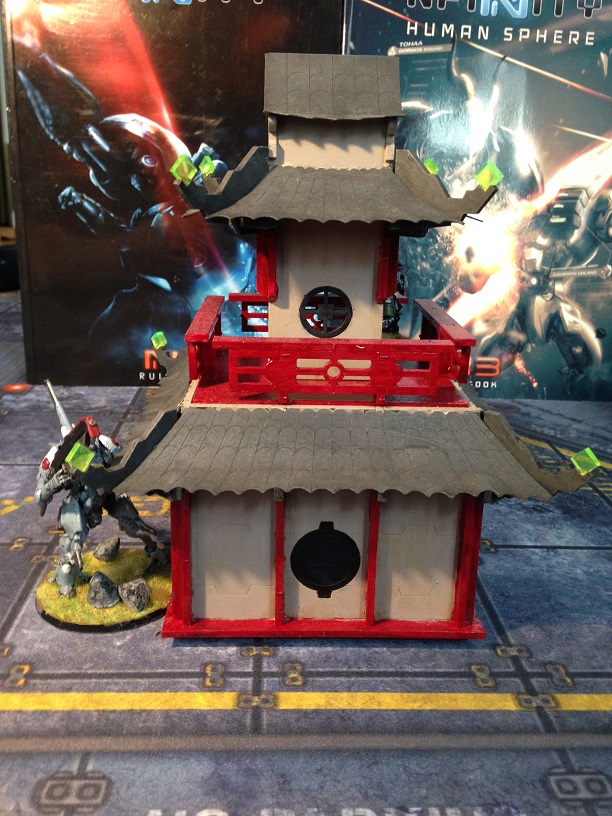


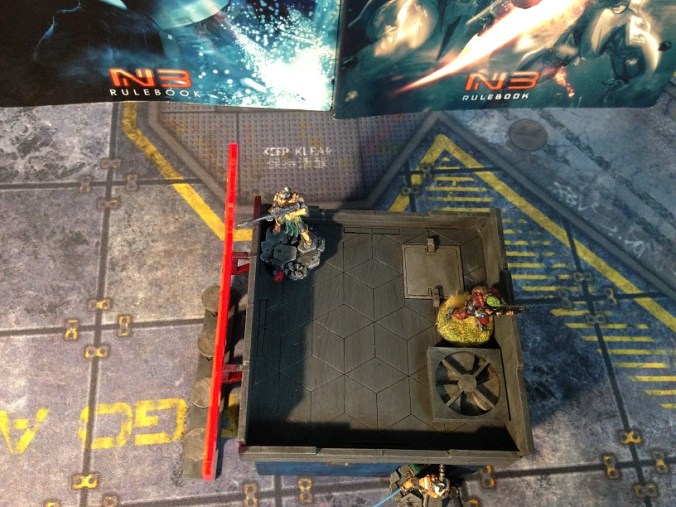
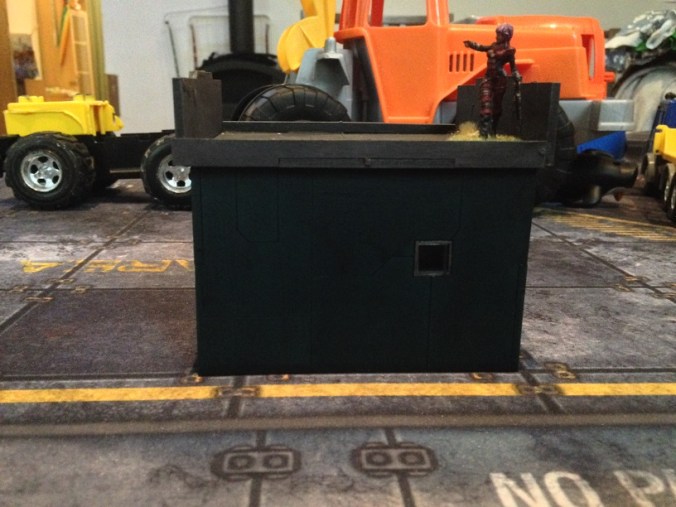
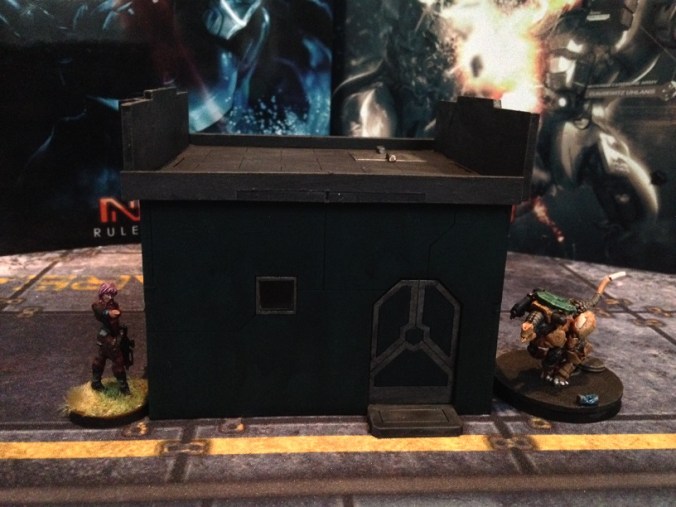
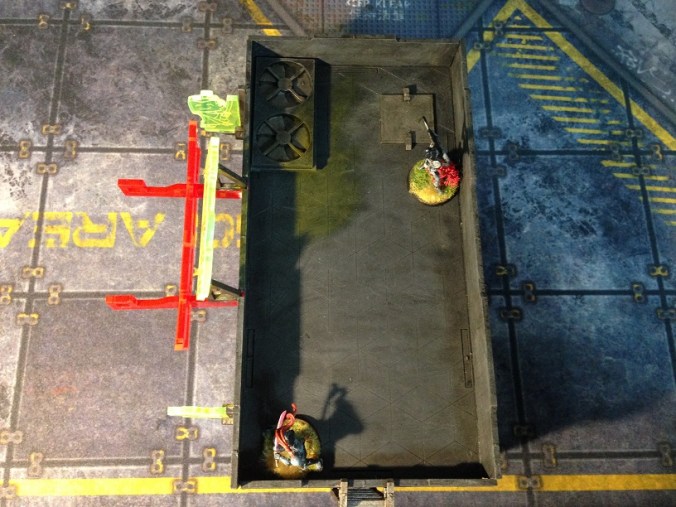
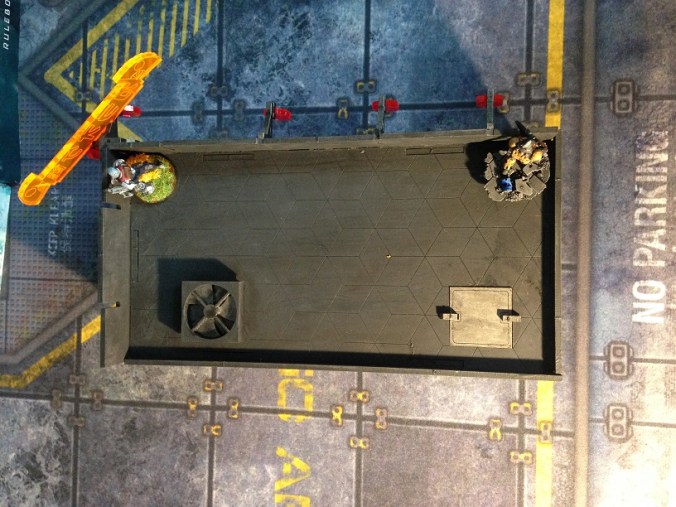
The top part of this can be removed and is actually the roof of the lower floor building.
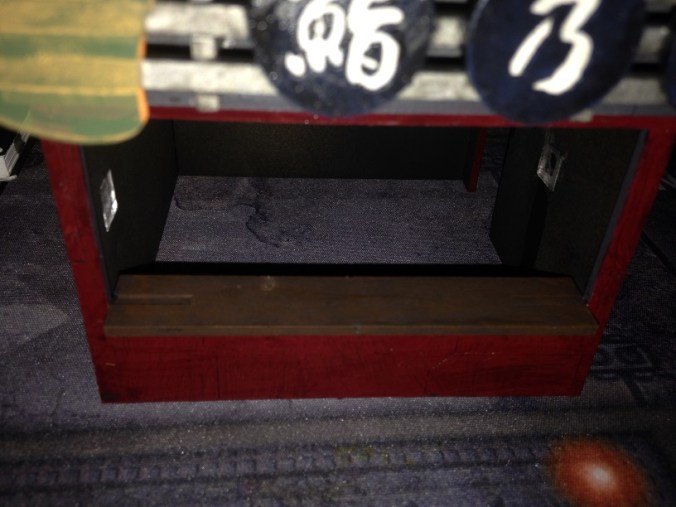
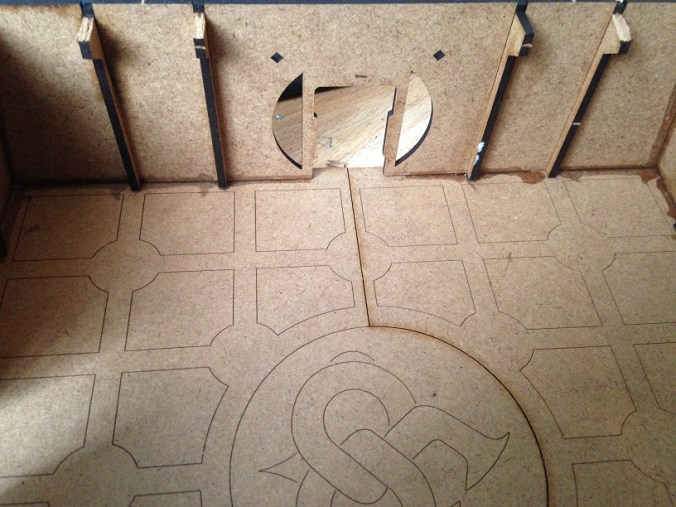
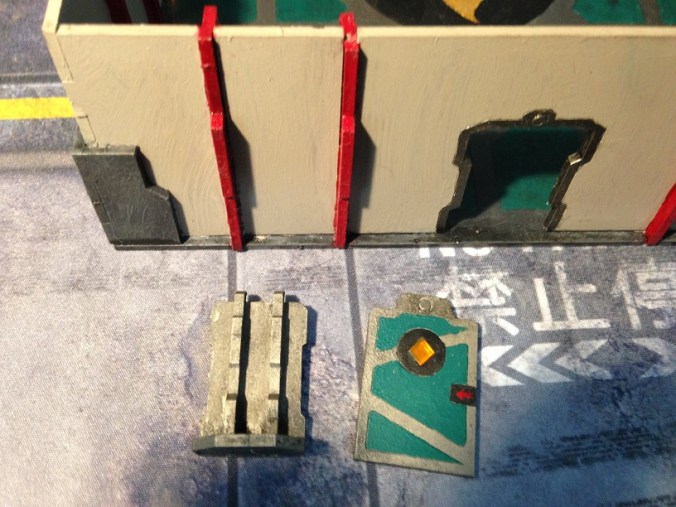
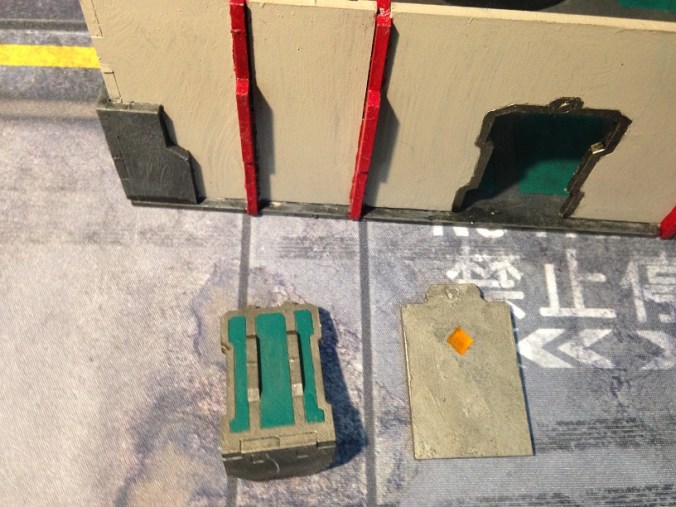
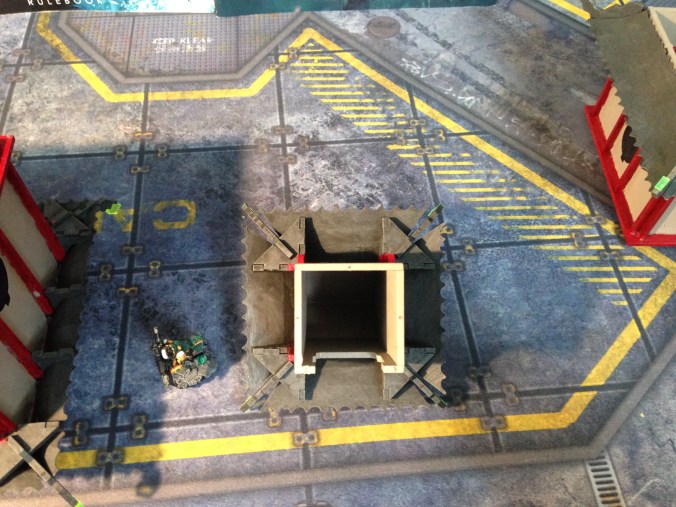
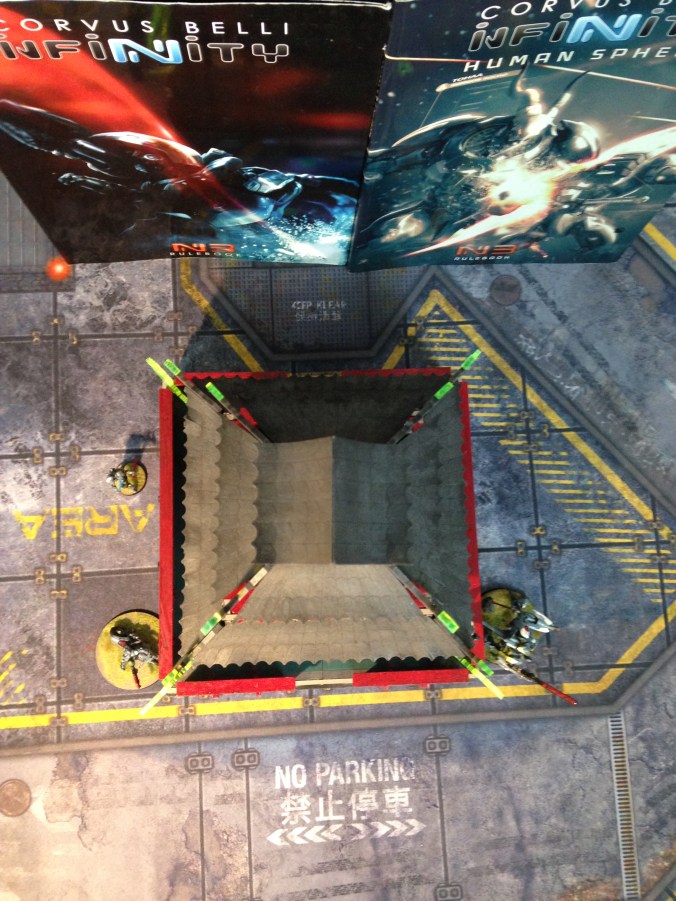
There are also small doors that can be used to fill the hole in the floor should you want to.


The painting of this giant was actually rather easy, although it took a LOT of time to do it by hand, and ate quite a lot of paint as well (as is to be expected).
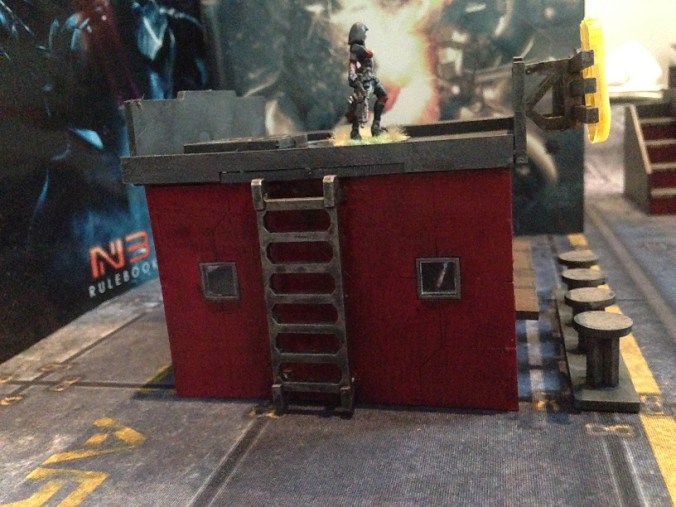
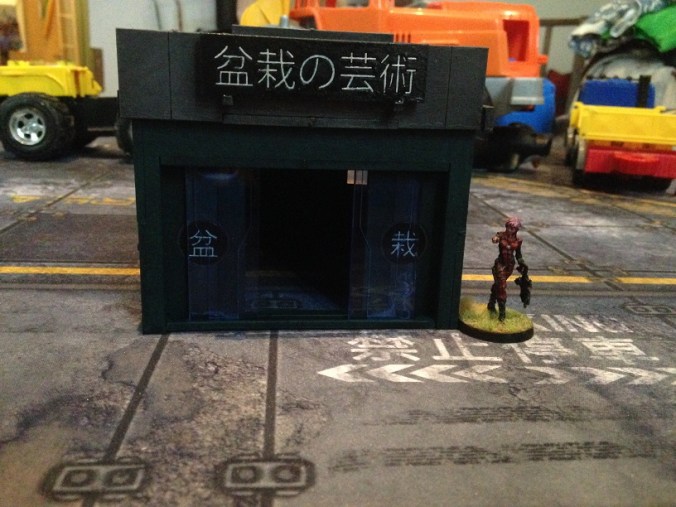
The lowest level (command room) has some of the best doors for Infinity terrain I have ever seen so far. The bigger ones slide in nicely and unlike many other doors they don’t fall over at all, and the other two doors even come with magnets to attach them, which is just neat!
There are small doors between each building which allow for vertical movement should one desire to do so inside of the building.
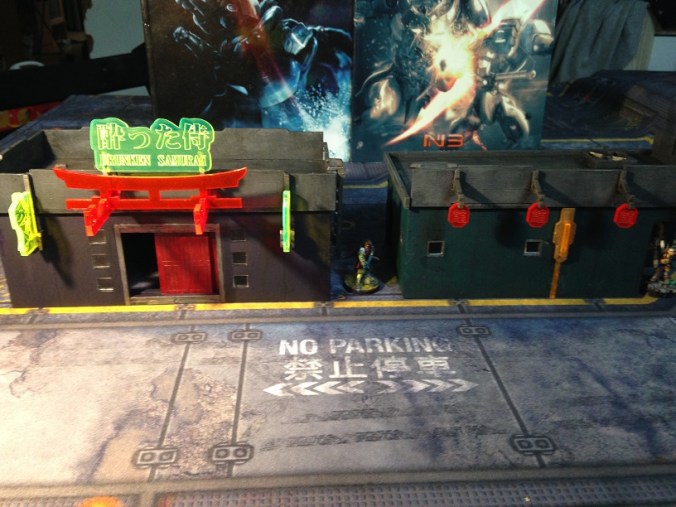
The thin roof sheets once painted are actually quite durable, and have so far survived 2 small falls without any damage (thank you son…thank you very much!), however the plastic dragons on the sides are EXTREMELY fragile (and look extremely awesome!) so beware, they do NOT survive a fall at all, and one of them has already lost an arm for me, which I couldn’t find anymore to reglue. (once again, thank you son…thank you VERY MUCH!….)
If you don’t glue the small hut on the top to the building below it is very wobbly and falls off easily, currently I haven’t glued it on yet, but I am seriously thinking about it, as it makes transporting this giant piece of terrain even harder (if you are as lazy as me and don’t want to deassemble it everytime..)
Also Customeeple has learned from their previous buildings with this one I think, every building comes with a nice looking floor, and every roof (except the very top small hut) is detachable.
To sum it up, the Forbidden Palace is just AWESOME! The best piece of Infinity Terrain I have seen so far. It is gigantic and takes up a good chunk of your table, blocks a lot of lines of sight, gives you a lot of levels to play at and looks just gorgeous. It also provides good cover and fits into the Infinity Universe perfectly.
Small problems with the assembly aside everything fits in nicely and the fact that it can be split into several smaller pieces of terrain as well is just icing on the cake.
I didn’t think I’d go there so fast, but this terrain is in fact a 10/10 for me, just perfect.
I would recommend it for every Infinity player if it didn’t have such an obvious Yu Jing Style, which most likely would look odd in an Ariadna Jungle Camp, but if you can find a reason to have a giant Yu Jing Castle standing on your table, GO FOR IT, it doesn’t get any better than this for this price I think.


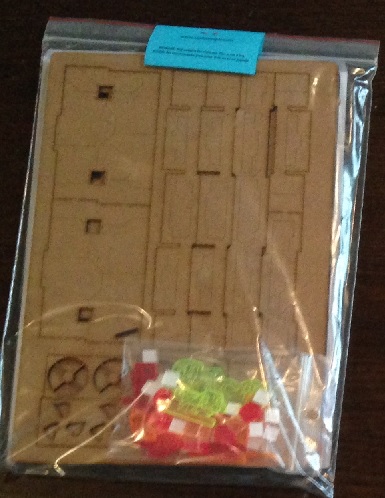


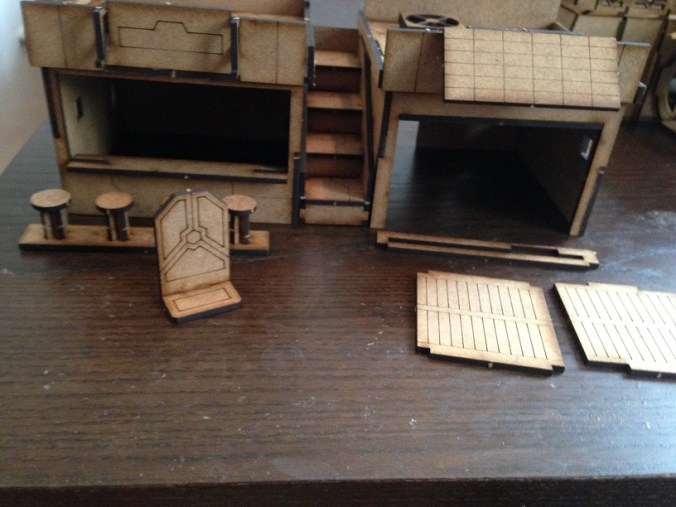
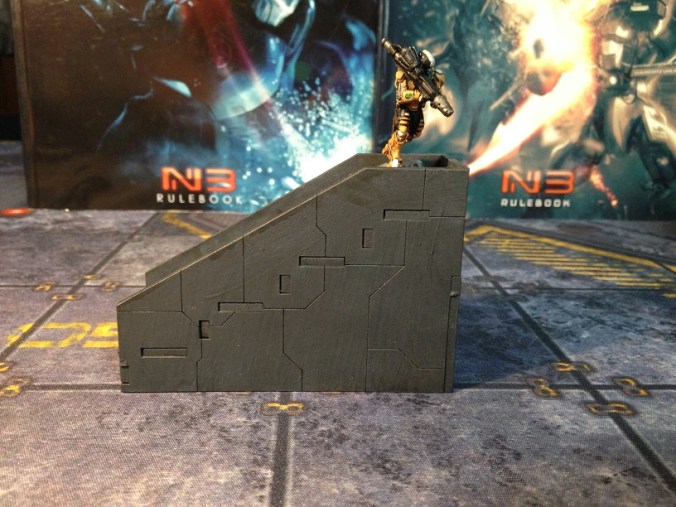
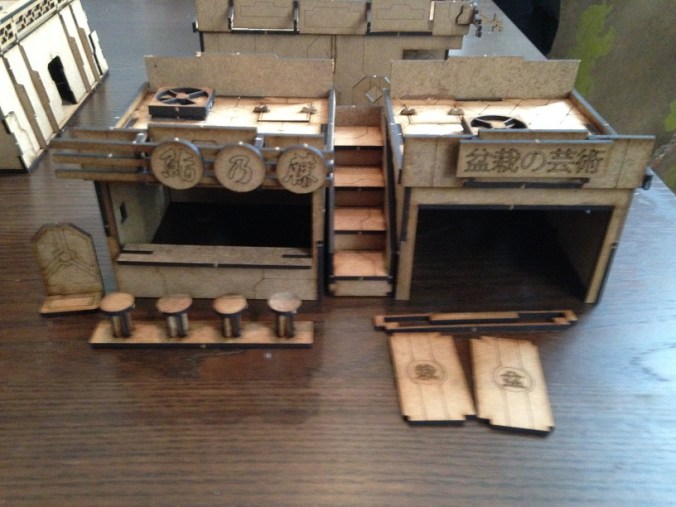
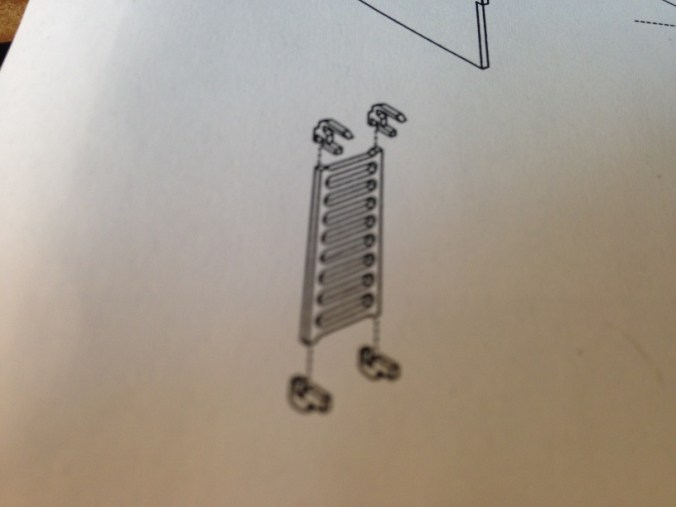
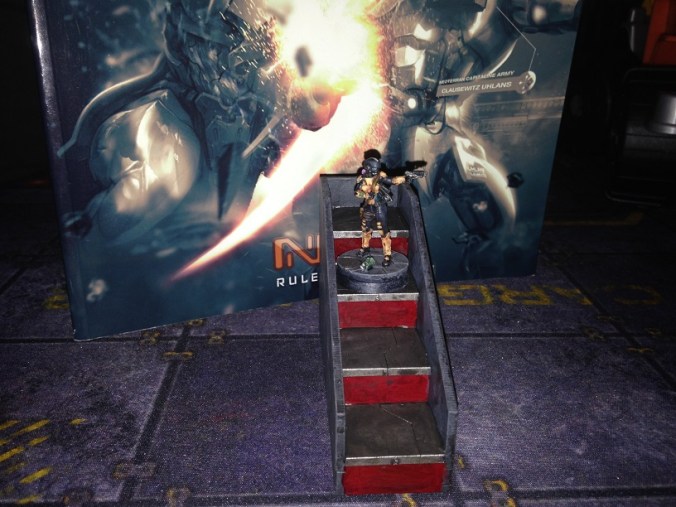
 The Set comes with a row of chairs for the small restaurant, a sliding door for the dojo (which can be assembled to be movable), a stairway to the roof, and each building can also be assembled with a removable door, ventilators for the roof, a removable hatch into the building, and ladders for the side of the buildings.