Antenocitis Workshop Review Part 2 : Happy Panda Noodles

Hello Everyone!

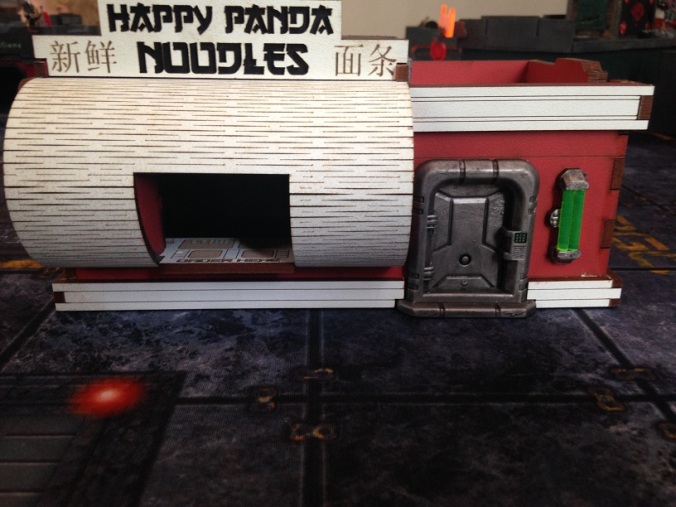
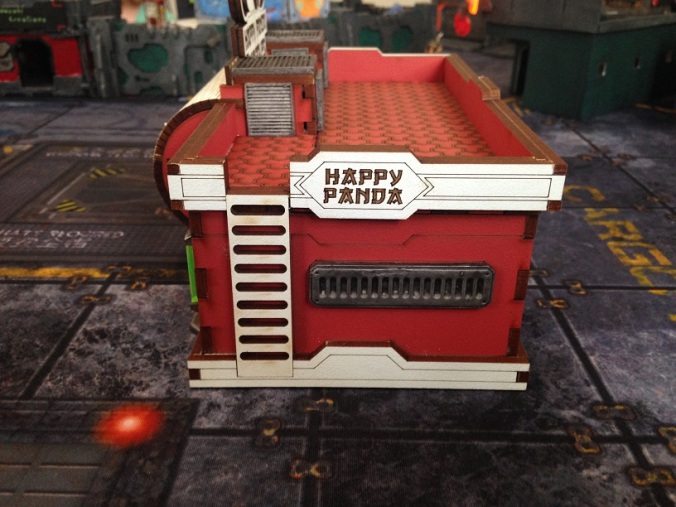
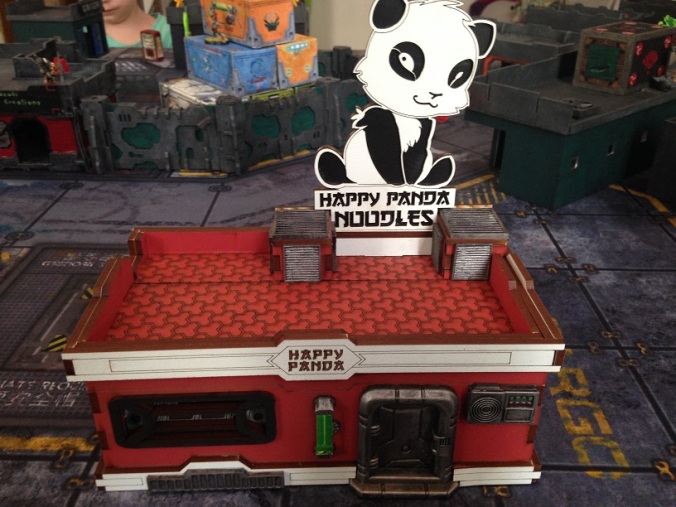
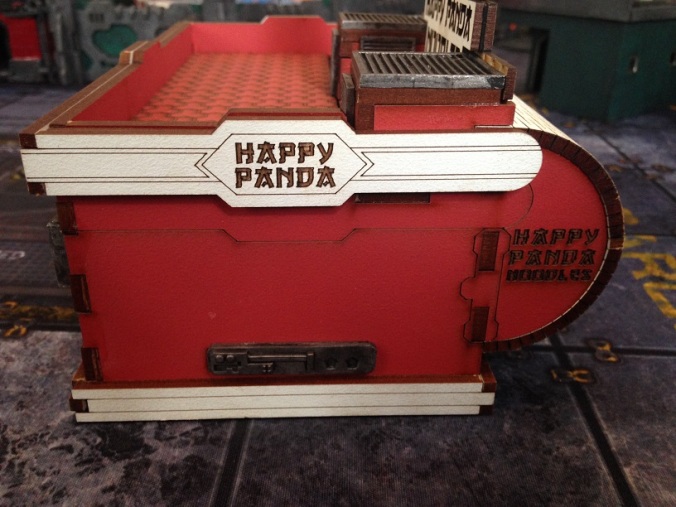
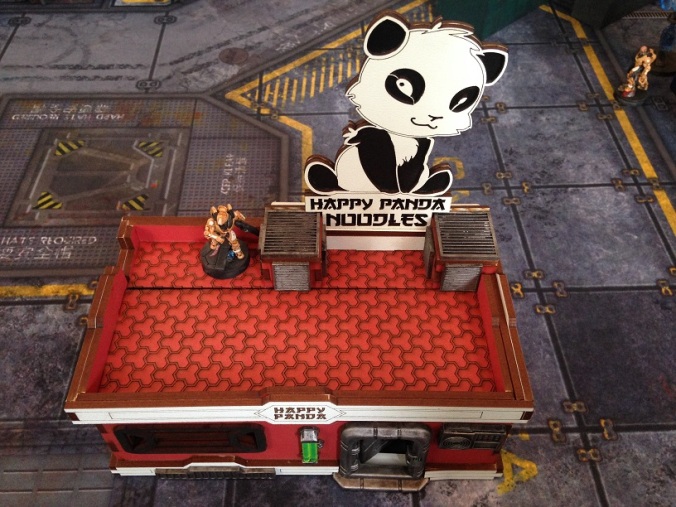
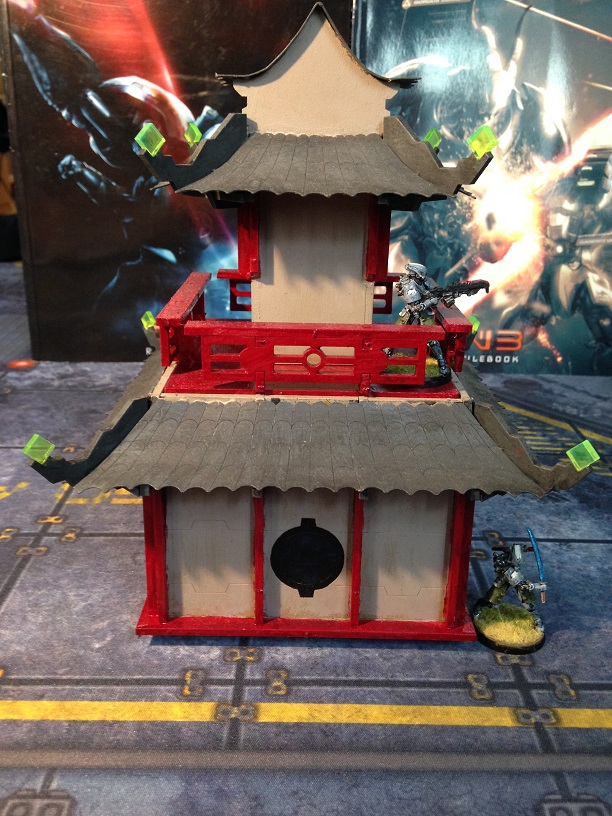
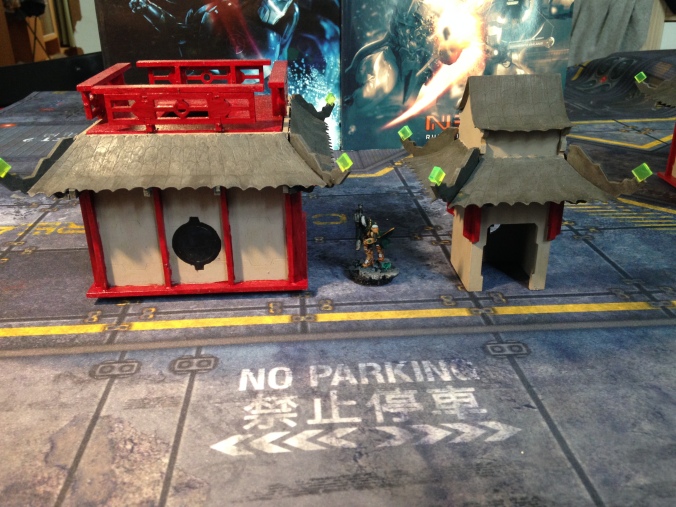
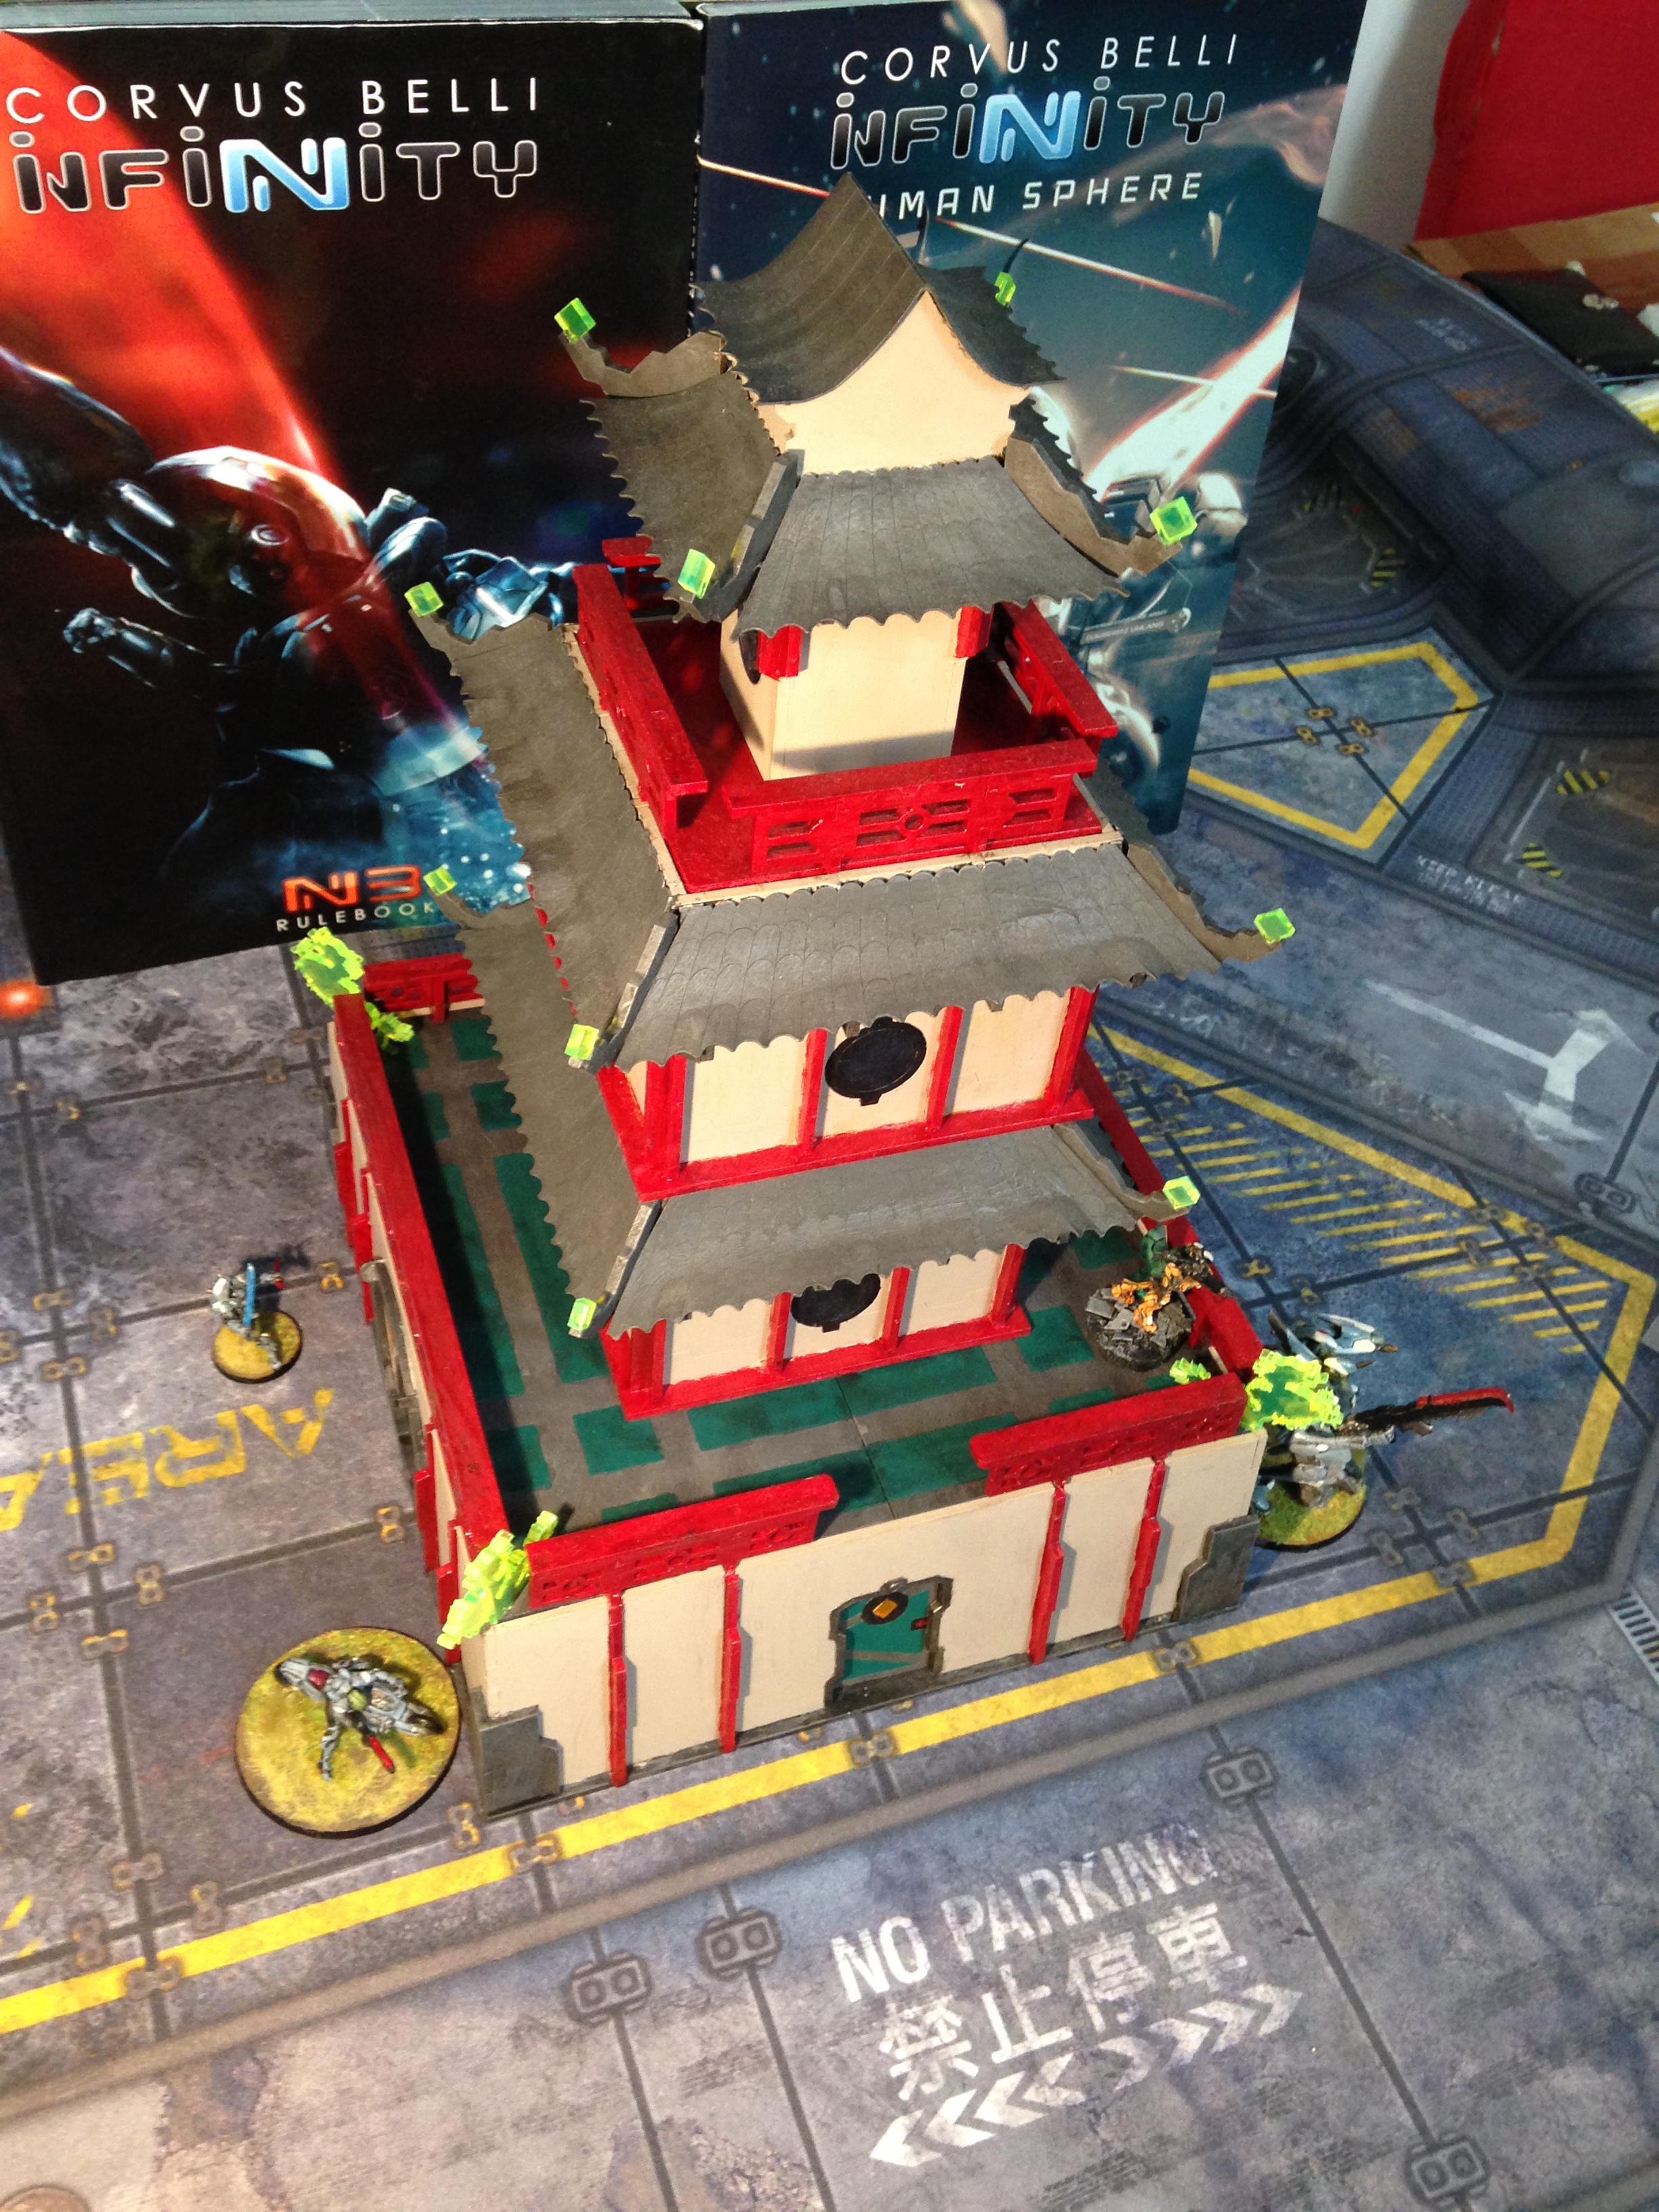
In Part 2 (and currently the last part) of my Antenocitis Workshop Order Review we’ll be taking a look at the building I had wanted to order for over a year now, and finally got around to order. The Happy Panda Noodles Restaurant!
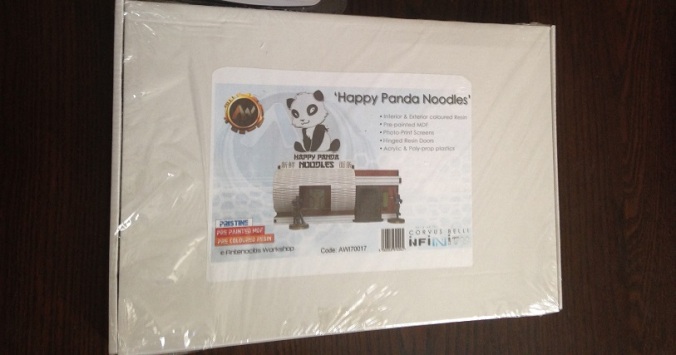
Happy Panda Noodles

IMG_1824

I can’t say anything about delivery times because I ordered the building from a german distributor since that turned out to be cheaper with the pound to euro conversion and some very weird calculation problems I had on the Antenocitis Workshop Page (The normal price already included tax, then it added tax again, and then on my paypal payment site it wanted to add tax again! making everything cost almost double the original price in the end……maybe it’s some problem with where I order from (Austria) or with the conversion itself or whatever, or maybe I was just experiencing some weird bug.)

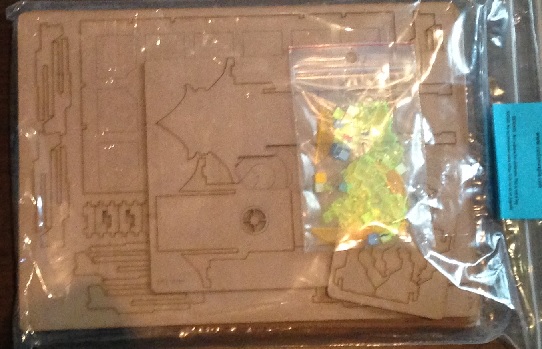
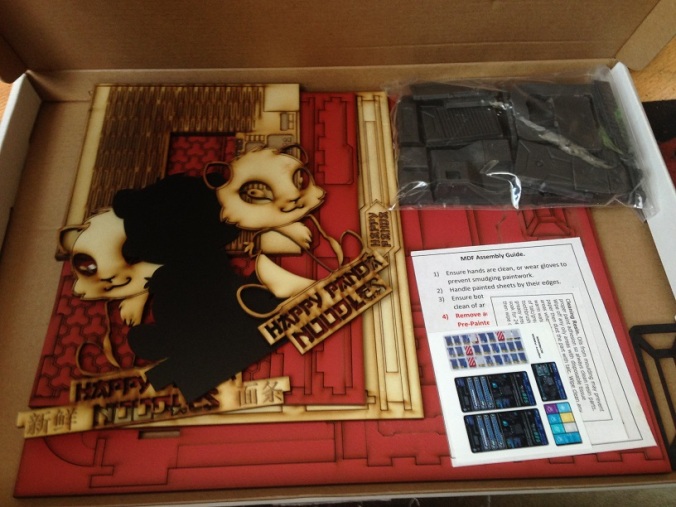
The Building comes with pre painted MDF and at first I was quite surprised when I opened the box, as some of the white parts (mostly the Panda itself) seemed VERY burned, to the point where I assumed they had some sort of production error or old laser lense…
IMG_1825

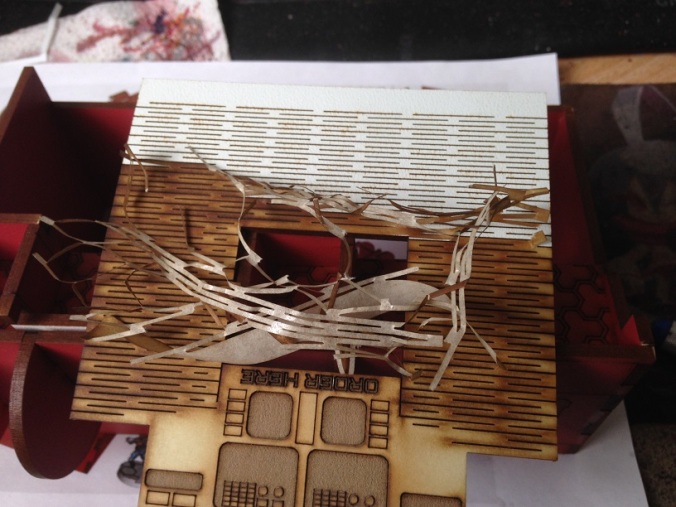
But after reading the very detailed and informative instructions (which sadly were missing the last page for me..), it turned out that the white parts actually come with a protective sheet on them, and once you pull that off the MDF is beautifully white behind it.
IMG_1842.JPG

Getting the sheet off can be a bit tricky for some parts, and I often used the back of my hobby knife to gently scrap it off, which yielded good results.

When assembling this kit I recommend you take extra time to very carefully read the instructions, and make extra sure to assemble the basic structure of the building properly.

IMG_1827

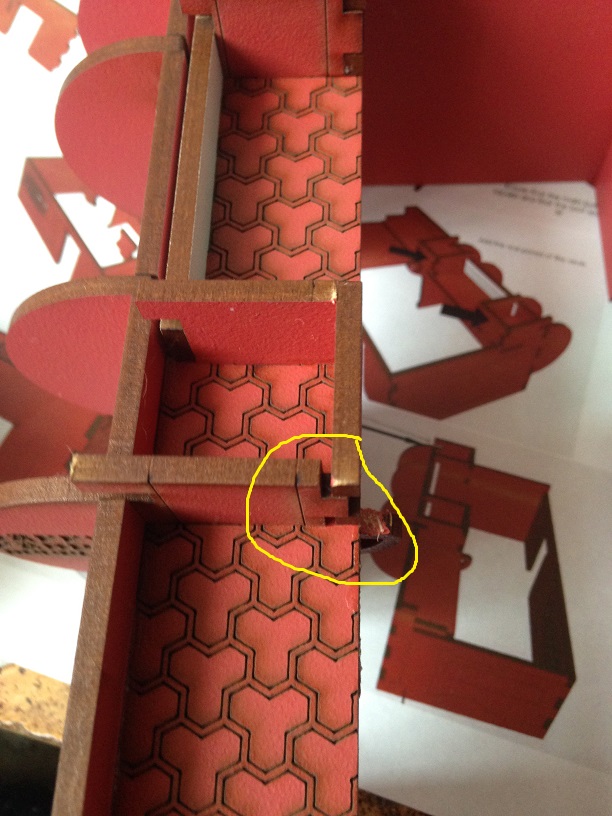
If, like me, you don’t notice a slight bend in one of the slot in parts, you won’t notice this right away, but once you come to the later steps, you’ll suddenly be faced with something like this:
IMG_1843

And it will be waaaaay to late to do anything about it because ripping the wall off will do terrible damage to the pre painted part of it, forcing you to repair and repaint it (if you even happen to have that specific colour of red around, which I didn’t…)

The round front part of the building slots in and fits surprisingly good and isn’t fragile at all as I first feared it would be, a very smart design choice there I must say! (Note that this part comes with a protective sheet on BOTH sides!)
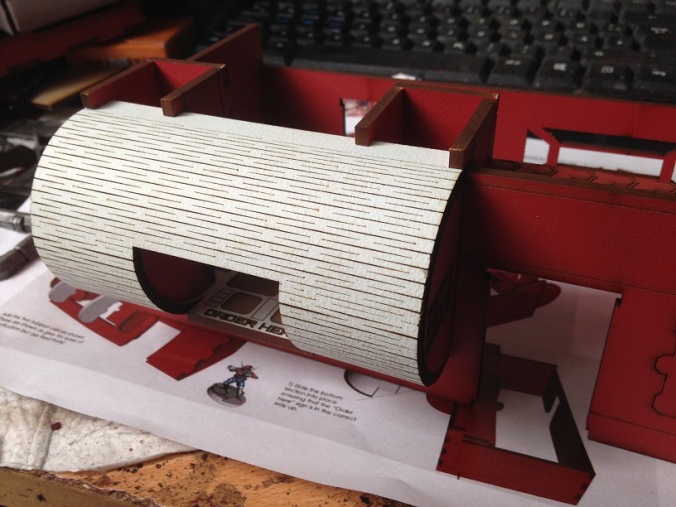
IMG_1844.JPG

Now it was at this part that I did the biggest error in my construction of this kit. I was so focused on making the roof section fit properly, that I didn’t notice a big error I was making while attaching the white parts of the side decorations.

On the front and the side everything looked fine, but as I turned (after a little time skip due to family distractions ;-P) to the back, I realized the terrible mistake I had made, and also had to realize that I no longer could fix it without brutally damaging the roof sections of the building……I had glued on the white parts too high…

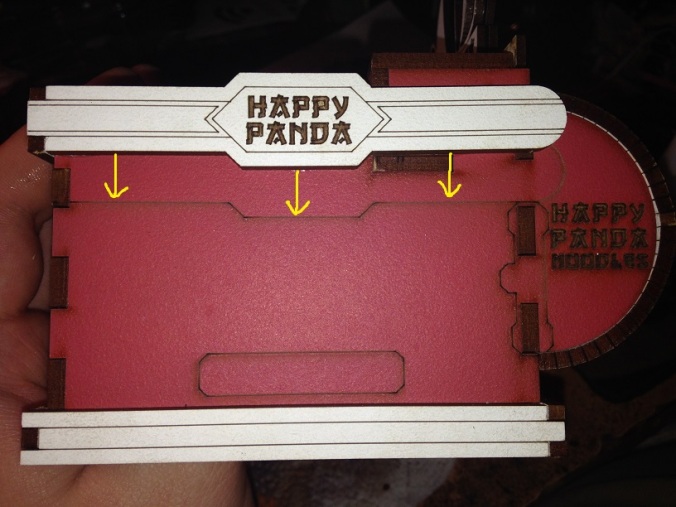
IMG_1920

IMG_1921.JPG

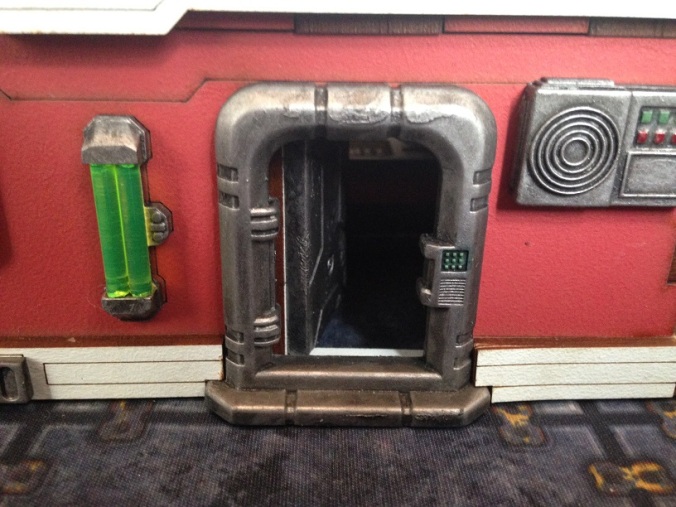
(This part of the building shows signs of another metal grey bit with neon lights that should be added here, however this part wasn’t included in my set and the neon light stick was too short to fill the part as well if it would have been included…so maybe this is a leftover from their design process, or an alternative position.)

Now this is not the end of the world for this building, everything still fits together nicely and looks good in the end, but I was still very annoyed by my own carelessness, and so I hope this Review can prevent others from making the same stupid oversight.

Now as mentioned before this lovely product comes with already pre painted MDF and metal grey plastic/resin parts, which means that unless you really want to, there is actually no painting required.

Still I couldn’t stand having metalic grey products standing around in the interior of the building (yes this thing actually comes with interior!), so I ended up painting all the plastic/resin parts in the end anyways.

(As always, Miniatures not included and only added for scale)

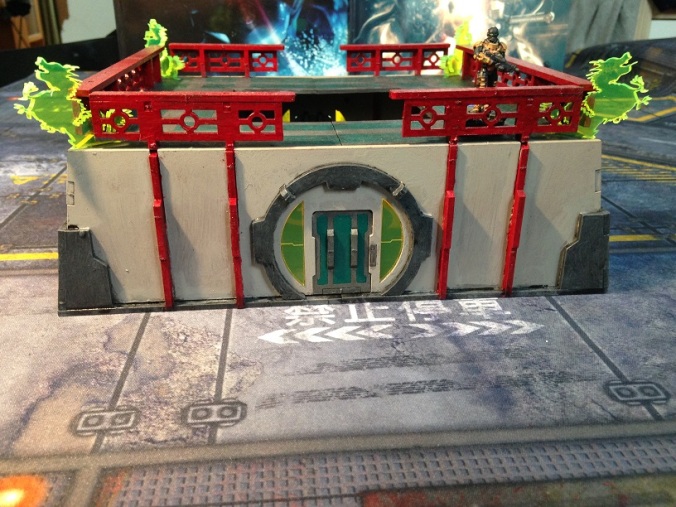
Assembled (wrong) and Painted Happy Panda Noodles:
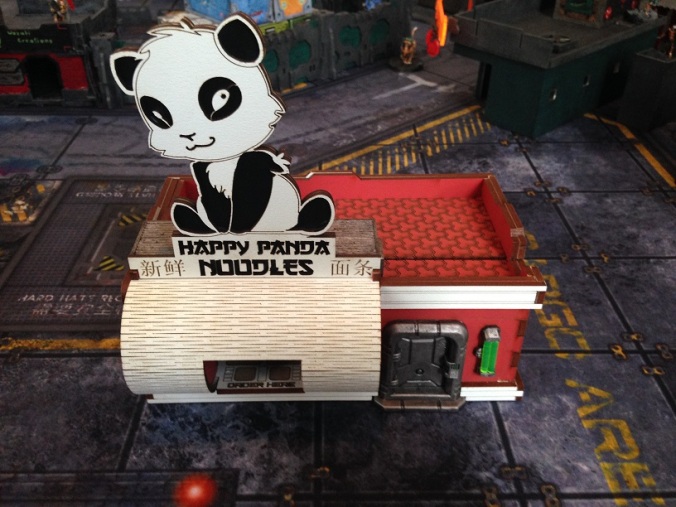
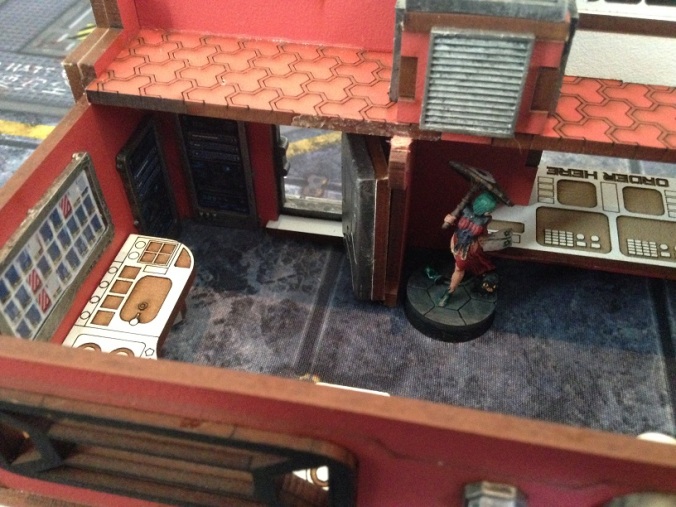
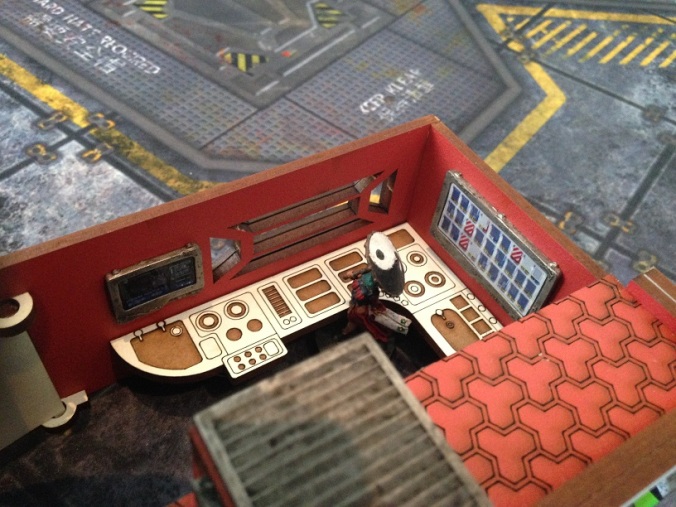
IMG_2040IMG_2041IMG_2043.JPGIMG_2045.JPGIMG_2048.JPGIMG_2050IMG_2052IMG_2056IMG_2058IMG_2059

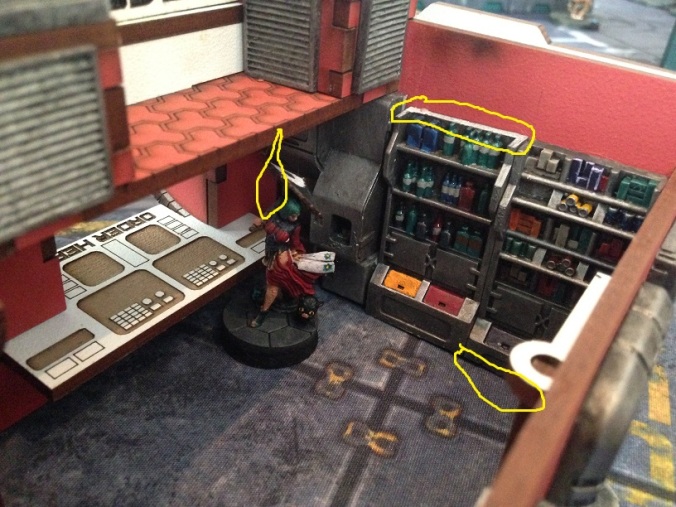
Everything looks quite awesome once assembled, and I absolutely LOVE the interior details and the way the doors where made (they swing opend and closed very easily), but as the last picture indicates, i have had a BIG problem with these 3 parts of the interior.

I don’t know if it’s because I screwed up at assembly somewhere, or if the mold was faulty or I really was supposed to do what I had to, but for me the three pieces where too big and too tall to fit into their designated spot, and trying to cram them in instantly popped the side out of the building or wouldn’t allow for the top to fit in smoothly.

So I had to cut away several layers of plastic/resin from these pieces to actually make them fit in, which not only required a lot of work, but obviously took away from their looks as well. (and I kind of messed up by cutting away from one at the top because it seemed the best part, only to notice that the other one had packages at that spot, forcing me to cut away at the bottom…).

Another part that was annoying me a bit was the fact that this lovely building, which even includes an interior, for some unknown reason does NOT include a floor! Why? Whyyyy??? The entrances even have a little step which would have made adding a floor very easy, and the interior basically screams for a floor, but nope, non included, and now every picture I take of the interior shows the outside floor….


So yeah, this turned out to be a very complicated construction process for me, and to some degree I am not sure whether that wass due to my own errors, or design/mold flaws.

However I will give the Happy Panda Noodles Restaurant a 9 out of 10. It is almost perfect, and if it were not for the not fitting interior pieces and the missing floor, this would have been an easy 10, but no floor in a building like that is actually a huge deal for me, and having to cut apart stuff to make it fit is quite troublesome for assembly.

I do however recommend the Happy Panda Noodles Restaurant for every Infinity player, no matter the board you are intending. This cheeky Panda (my wife keeps insisting that it looks like a cat pretending to be a Panda) could easily sneak one of it’s branches into the bloody desert, or an icy mountain top if you ask me, and it will greatly enchance any table you place it on I think.and  I can’t wait to play my first game with it on the table!


TTCombat Terrain Review Part 2 : Oriental Bridge and Lanterns

Hello Everyone!

In Part 2 of my TTCombat Terrain Order Review we’ll take a look at the Oriental Bridge and Lanterns set.

Oriental bridge and Lanterns

Just as with Part 1 the package arrived within 2 weeks and came in a nice perfect fit envelope.

IMG_1789IMG_1791

The Sprues themselves come wrapped in plastic and come with a nice picture of the product on the front, and the instructions on the back.

24

This set comes with a lot of thin cardboard pieces which can be a bit tricky to cut out without damaging, but the only really troublesome part of assembly were the Lanterns, since most of the fiddly bits there were made out of the cardboard, and they easily get lose, don’t fit as tightly as you’d want to, and it’s easy to rip little pieces off if you get glue on your fingers, which can easily happen while trying to fiddle the thing together.

The Bridge on the other side goes together very easily and looks great with the carboard details on the side.

IMG_1803.JPGIMG_1804.JPG

I think I was hoping for more with the lanterns, as they just don’t fit together as well as I wanted them too, but the bridges are awesome and look very authentic, and the lanterns can be forgiven when considering that the original japanese stone lanterns often look very crude as well.

IMG_2065.JPGIMG_2061IMG_2063

The details on the side of the bridge don’t show that good with my traditional painting sceme, but the sides are slightly thicker thanks to that and I really like the bridges.

It seems I either messed up during assembly or they got warped due to some sort of pressure in the meantime, but one of my bridges ended up slightly angled and doesn’t stand completely flat anymore.


As with all my TTCombat Terrain Reviews I’ll also split this one into two categories:

For Infinity I’ll give this one a 5/10, it’s easy to assemble and the bridge looks nice once painted, but the lanterns just don’t fit for Infinity and just look too crude and boring for the Infinity Universe I think, and due to the bridges design it doesn’t work as bridges between buildings with most building designs (which was what I had originally thought of using them as), but if you want to build some island of tranquility within a japanese themed area of your Tabletop, it might work out well.

Thus for Infinity I can only recommend this set for those who want to build a traditional japanese styled area on their table, it really doesn’t fit into any futuristic areas and isn’t compatible with most terrain like that.

IMG_2079.JPG


For other more traditional medieval japanese style games I’ll give this set a 7/10. It looks very traditional, the bridge goes together nicely and looks good, and in a medieval setting the crude looks of the lanterns can be forgiven more easily than in Infinity I think. I still would have prefered for the lanterns to be made completely out of mdf though, as I don’t think they’ll survive for very long without losing parts. I’m sure this set would look great in some sort of Temple Garden.

Once again I’ve got to say that the price of this terrain set is still very nice though, and if you are on a budget it’s well worth it I think.

TTCombat Terrain Review Part 1 : Torii Gates

Hello Everyone!

Recently someone posted a nice little Review of a japanese style hut from TTCombat, and as I took a look at their site and noticed the prices of the terrain….I just couldn’t resist and ordered all of their Eastern Empire Scenics Terrain stuff!

In this part of the Review of this Order, I will take a look at the Torii Gates.

Torii Gates

The package arrived within 2 weeks and came in a perfect fit package.

IMG_1789.JPGIMG_1791.JPG

The Torii Gates sprues themselves come in a plastic foil with a nice picture on the front, and the instructions on the back.

1.jpg3.jpg

As you can see, assembly of the gates is easy enough, with the hardest parts most likely being fitting the 3 top sections together without too much of a gap, and adding the thick cardboard roof on top.

Yes you read that right, the roof is made of rather thick cardboard, which works very well, but forces you to be VERY careful with your glue, less you rip parts of it off with your sticky fingers or so.

IMG_1799.JPGIMG_1800.JPGIMG_1802.JPG

I am not too big a fan of the rounded “bases” of the Torii as it’s kind of at odds with the rest of the design, but that’s just a minor thing really.

(As always, miniatures not included and only added for scale comparison)

Painted Torii Gates:

IMG_2073.JPGIMG_2075.JPGIMG_2077.JPG

I keept the painting scheme simple as real Toriis in Japan are kept very simple as well (most of the time…), and I really like that style.

I didn’t have time to play a game with them yet, but I think the Torii fit to scale very well (for big Torii anyways) and they look great on the table!

(Sorry for the lower quality of this picture)

Toriiinaction.jpg

Obviously they’d fit into a traditional medieval setting slightly better, but they work just fine for Infinity as well I think.


I’ll split my Review for the TTCombat Terrain into two parts, one for Infinity, and one for the Kit itself.

For Infinity I’ll give this kit a 7/10, it’s easy to build, looks nice and does it’s job, but for Infinity this could have done in way more stylish ways, with Neon signs or whatnot (some Torii have signs on the middle part for example), but if you are going for a more traditional feel (like I did) this is still a very good kit and I’d recommend it for your asian style Infinity Table any day. If you are on a budget this might even be a 8/10 because of the sweet price 🙂

For a more traditional japanese medieval setting I’d give this kit a 9/10, it’s easy to build, looks nice and very authentic, and is easy to paint as well. The only thing to improve I think would be to use round poles for the Torii, I know that’s hard to make with MDF lasercutting, but when I was in Japan all Torii I saw there had round poles, and it takes away a little bit from the classic design to not have that.


Antenocitis Workshop Review Part 1: Stand Alone Vendors

Hello Everyone!

With the new month around the corner I decided to finally order some things I had wanted to order for quite a while now. Sadly I couldn’t order everything I wanted because they were out of stock at the distributor of my choice, but nevertheless I got the two most important parts.

For this Review I will focus on the first part of my order, which is the Antenocitis Workshop Stand Alone Vendors (as the title already revealed).

Stand Alone Vendors

I still needed some more fitting scatter terrain for my table, and what is more fitting for an asian city, than a bunch of vending machines? I mean really, have you been to Japan? There are 3 of those on every corner, and sometimes 8+ in a single small street, so how could I go without any for my The Neon Dragon Terrain right?

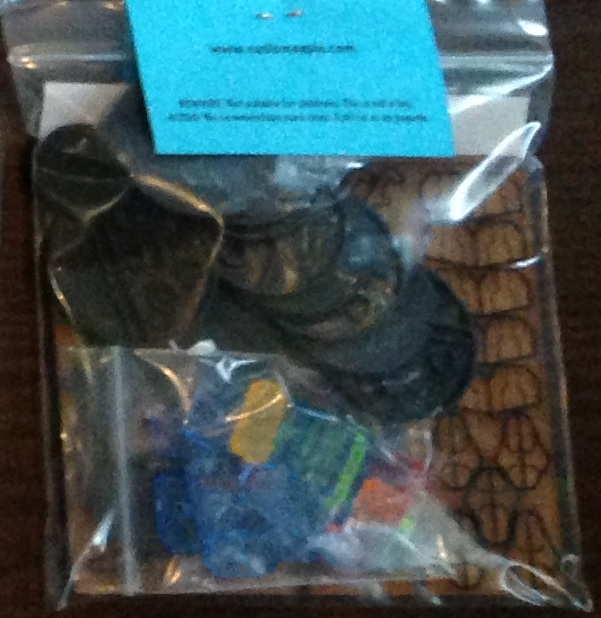
The set comes in a little blister and is as simple as it gets really, just 4 pieces of resin and 2 sheets of printed surfaces.

IMG_1824.JPG

A little bit of trimming is required as some of the Vendors might have excess Resin at the base, while others have small holes instead, most likely depending on how much material made it in the mold. But since this side is the bottom of the machine, once you cut off the excess parts you won’t see anything of it.

The Vendors are tall enough to provide full cover for Silhuette 2 Models if they hide behind the front or back, although the way you’ll usually position them they’ll most likely just give partial cover.

I was a bit surprised to find that the cover prints were actually just printed on sturdy cardboard, but if I had properly read the description I should have expected just that.

I really wonder though why they didn’t go for stickers instead, as it would seem like a really obvious and easy to use option, and I have to say cutting out the middle part on 2 of the front covers was a pain in the neck, and cutting out all the parts properly took almost as long as completely painting all 4 vendors (which only shows how sloppily I paint I guess ;-P)

Once I managed to cut them out and added a little hardcoat to them to make them shine a little bit, I think they do look quite awesome!
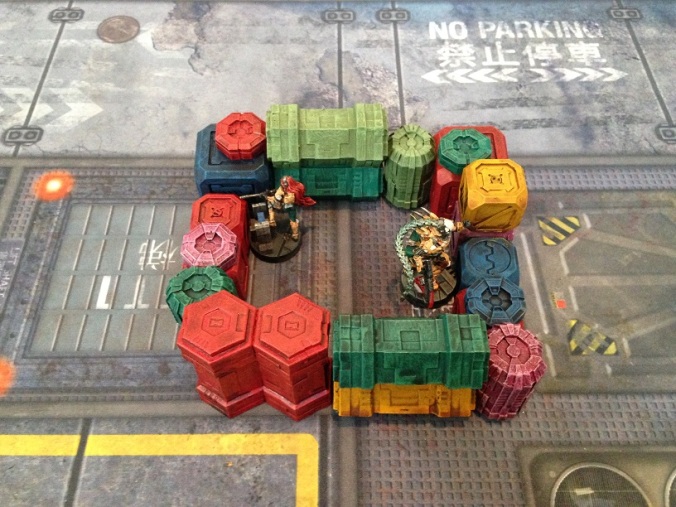
(As always, Models not included and only added for scale..)

Stand Alone Vendors Assembled & Painted:

IMG_1828.JPGIMG_1829.JPGIMG_1830.JPGIMG_1833.JPGIMG_1835.JPG


All in all I think this little set is nice for the price, but it is really as simple as it gets, and a little bit too simple maybe. Making each printout unique wouldn’t have killed them and would have added more variety if one would order more than one set, and that the printouts aren’t easy to use stickers is kind of a bummer.

I do however love that the printouts were done in chinese/japanese as it fits perfectly for my Yu Jing themed board, however if you are not a Yu Jing player it makes the set a bit harder to recommend.


I’ll give this set a 6,5, it could be improved by adding different designs, by making the printouts stickers, maybe by adding some neon parts to it, and maybe even adding more different vendor designs  to make using more than one set more compelling (maybe something different than drinks? How about a gun Vendor, or whatnot, there are a lot of crazy vending machines in asia already, and I’m sure in Yu Jing the craziness would just increase!), but I’d still recommend it to anyone who wants some cheap nice looking stylish scatter terrain, even more so if you are building a Yu Jing themed board.

Micro Art Studio Review Part 2: District 5 Walls Straight & Gates

Hello Everyone,

Since I am currently madly collecting all sorts of awesome terrain to make my Tabletop look better, I couldn’t resist grabbing the following pieces of terrain as I saw them stocked in my local hobby shop:

District 5 Walls Straight

District 5 Walls Gates

I sadly don’t have any nice pictures of the packages or the unassembled or unpainted parts of these sets as I snuck this purchase past my Wife and secretly assembled and sprayed them in the dark of the night, while letting all the evidence of their “newness” vanish into a trashbag that I whisked away the next morning…….

Luckily my wife pretended as if nothing had happened when the next day suddenly a chinese wall  was standing on my desk, waiting to be painted  ;-P

The Kits come wrapped in foil and include a nice and detailed instruction sheet.

Micro Art Studio defnitely make some of the best instruction sheets for their products and I had no problem whatsoever assembling them according to the instruction sheet.

I couldn’t see anything like a downloadable version of these instruction sheets, but maybe I just didn’t find them.

Assembly of the wall segments is easy enough, the only real difficult parts being the sloped corner segments of the gate set, as well as the little bar used to make the door movable (which I was afraid would end up gluing the gate shut or breaking, but none of which happened).

(Once again, miniatures not included and only added for scale)

District 5 Wall Straight Painted:

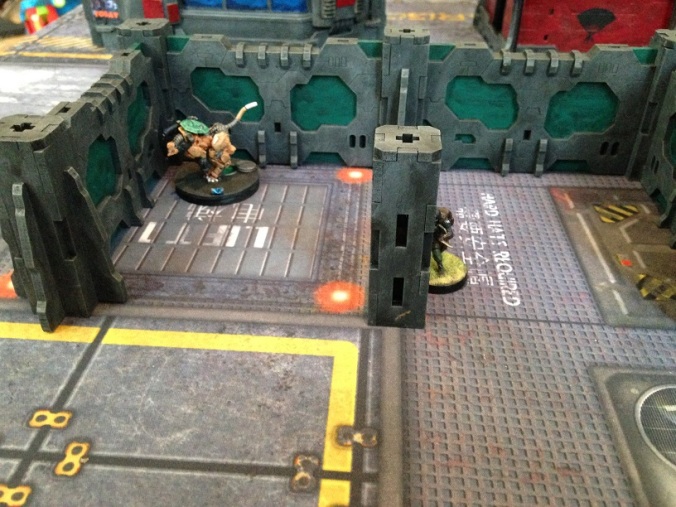
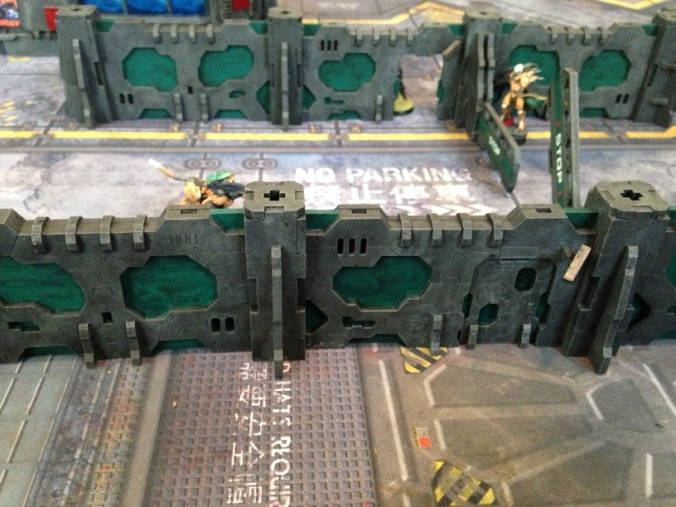
IMG_1588.JPGIMG_1592IMG_1593.JPGIMG_1596.JPG

District 5 Wall Gates Painted:

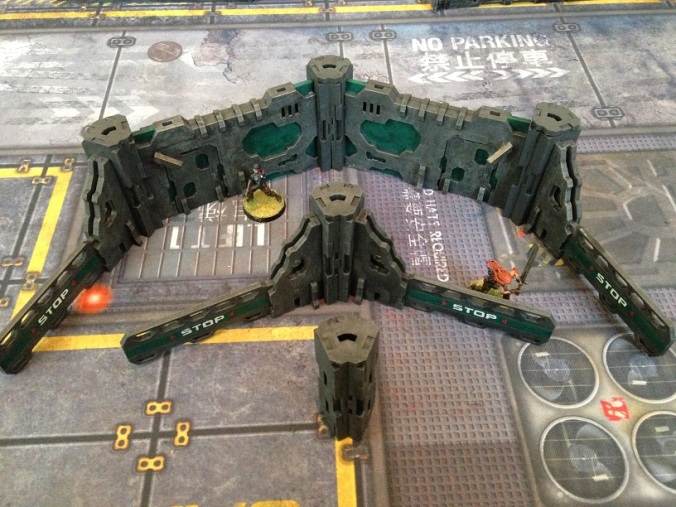
IMG_1602.JPGIMG_1604.JPGIMG_1606


District 5 Walls Painted Mixed:

IMG_1608.JPGIMG_1609.JPGIMG_1612.JPG

Painting these walls was surprisingly easy, and the parts are very adaptable and sturdy.

I love little touches like the security cameras at the small wall gates, or the keypad to actually open the doors.

I would however have prefered for both sides of the actual gates to show the “STOP” (although I know that’s harder to produce, and it makes sense to only see it from the direction you are driving from..) as the side without it just looks a bit bland in comparison.

And I would have liked to see slightly bigger free areas on the walls I think. I like the fact that it looks kind of hich techy, but Micro Art Studio has some incredibly awesome Wall Tattoos, and the fact that none of them actually fit those walls is a bit of a bummer.


All together however these kits are quite awesome, and I’ll give them a 8.5/10.

I would recommend them for any Infinity Player that wants a huge Table seperator like  walls, I would however recommend to buy at least both sets together, maybe even an additional set of straight walls, as the gates only come with sloped seperators that just aren’t that useful when building a wall on most tables, and the Straight Pack alone doesn’t have any doors in the wall, making them very hard to pass through.


Micro Art Studio Review Part 1: T00086 Infinity Cargo Crates (5)

Hello Everyone,

Since my gaming table was still lacking a lot of scatter terrain, I finally decided to rid my local hobby shop of it’s long waiting box of Cargo Crates….only to find out that just that day, only 2 hours before me, someone had actually bought it already! Luckily replacement was on it’s way and a week later I finally managed to get my hands on this lovely box.

I am telling you this little story, because aparently Micro Art Studio themselves no longer offer this product on their Website, or maybe it’s just all out at the time of this Review when I checked their site for it.

So instead of linking directly to Micro Art Studio’s homepage like I’d normally do, I’ll link you to my local hobby shop where I got them, because they at least seem to be able to restock them 😉

T00086 Infinity Cargo Crates (5)

IMG_1443

As the name suggests the box comes filled with 5 pieces of resin terrain. Each piece consists of several Crates stacked together in various ways.


Since the crates are of different sizes the end result is cover with various height which leads to interesting firelane situations when moving along a row of crates. One might think himself save behind the crates, only to notice that one of them is slightly lower, allowing for the enemy to see your silhouette as you walk past it.

Since every piece is a solid block or Resin, there is no assembly to be done with this product.

(Miniatures not included, only added for scale)

Cargo Crates Painted:

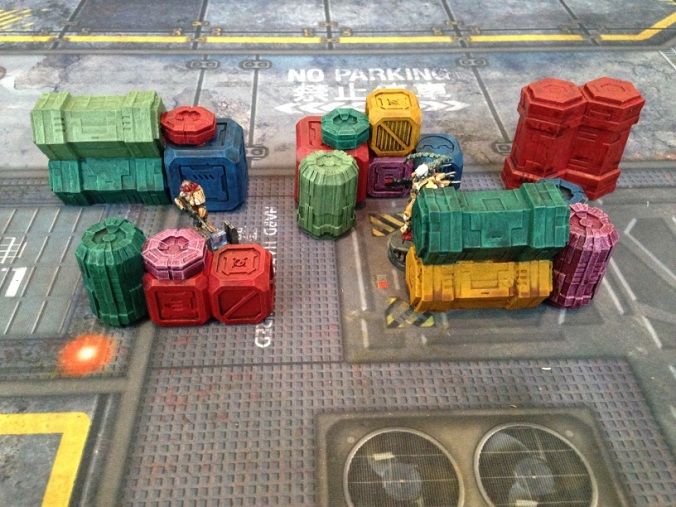
IMG_1614.JPGIMG_1616.JPGIMG_1618.JPG

The crates were easy to paint and doing so in various colours gave a good result I think.

The Crates fit in perfectly with all sorts of other terrain, and I really look forward to playing with them!


I’ll give this product a 8.5/10.

I would full heartedly recommend this to any Infinity Player that still needs some scatter terrain, it’s sturdy, looks great and is very playable, but I think it could have been improved by adding some more Infinity related Logos or text to the boxes (although that obviously would have reduced it’s utility for other games), and I think the set would have benefited well with at least some small boxes on their own so you could add them to the bigger boxes on different places, creating higher diversity if you’d buy more than one box (which I think I would have done would that have been the case).


Customeeple Review Part 5: 2014 ITS objectives set Infinity

Hello Everyone,

With my order of terrain from Customeeple I also decided to order a set of Objectives, since I have taken a liking to playing ITS missions, but didn’t have all the markers or scatter terrain to make it look good.

I didn’t go for the newest set of Objectives because I also wanted the utility to use it as scatter terrain instead of objective markers should I want to, and the 2014 set seemed more fitting for that to me.

<a href=”http://www.customeeple.com/product/infinity-forbidden-palace/”&gt;http://www.customeeple.com/product/infinity-forbidden-palace</a>

ITS Objectives

I am pretty sure that the Objectives come with a little instruction sheet for assembly, but to be honest, I think I lost it when I initially opened all my packages, and once it was time to actually build the pieces I couldn’t find it anymore…..yeah my table is just a mess of paints, brushes, terrain and miniatures, and somewhere hidden in between a computer ;-P

Unlike most of the other pieces I reviewed to far there is no downloadable version of the instructions on the Customeeple homepage, but if you study the parts long enough it is possible to properly assemble them even without the instruction sheet (although the antennas took me a little bit to fully understand).

Each Objective comes with it’s own base and there is some variety in the plastic parts to distinguish between them.

(Miniature not included and only added for scale)

Assembled and Painted ITS Objectives 2014:

IMG_1620.JPG

IMG_1623.JPG

IMG_1625.JPG

Assembly and painting of the pieces is rather easy (at least if you do it as basic as I did). I had a little bit of trouble with the very small 2 antennas as adding the plastic bits almost broke the “cross” where it’s attached to, and a few of the bigger antenna’s corners don’t look as smooth as I had hoped because the glue instantly stuck on the flat survace and I barely could reposition the pieces once I added them, but that’s just my own inexperience with terrain assembly I think.

I would have hoped for the Objectives to be built so that they could stand on their own even it not glued to the base, because then they could have been better used as normal scatter terrain, but since the bases are needed/helpful when it comes to the actual ITS missions, that is only a minor complaint.


Alltogether I think that this set is quite nice but not every part is as good as it could be. Everything fulfills it’s purpose, but the boxes are extremely simple in look, and the two small antennas are extremely fragile and little more than a cross with 2 plastic pieces on the side.

I think they did a much better job with their later versions of ITS Objectives (http://www.customeeple.com/product/its-objectives-set-2016/) where all pieces look interesting on their own, as well as serving their purpose.

Based on that I’ll give these Objectives a 6,5/10, they look nice, they do what they are supposed to, but there is room to improve and I think Customeeple already did so with their later versions of ITS Objective Markers, although that’s only an assumption since I don’t have them to directly compare with.

Customeeple Review Part 4: Infinity Forbidden Palace

Hello Everyone!

In this Part we will take a look at one of the newest products from Customeeple, and most likely one of their most impressive ones, the Infinity Forbidden Palace!

http://www.customeeple.com/product/infinity-forbidden-palace

ForbiddenPalacePacket.jpg

The Set comes with a short instruction sheet which details the most important parts of the assembly.

So far I haven’t seen any downloadable pdf Version of the Instruction Sheet like there were in the previous parts of the Customeeple Reviews.

IMG_1221.JPGIMG_1222.JPGIMG_1223.JPG

The Instructions are for the most part sufficient, although I did have some parts where I didn’t see the specific details I would have needed to properly assemble it (The main problem being the supoort struts that hold up the roof of the Base Building).

MissingInstruction.jpg

It seems like certain struts where ment for certain sides of the building (one is slightly angled, the other side isn’t) but on first glance I didn’t see that difference on the pieces themselves and the instructions, and I only noticed it once I tried to put on the roof of the building, at which point it was already too late to reassemble as the glue had dried already….so I did what had to be done….and cut it to fit ;-P

That aside the assembly of the buildings was very easy, the hardest part most likely being the roof tiles, which are made of very thin wood (mdf?) sheets which you have to bend into place while they dry, which isn’t too hard, but you have to be careful not to break them or deform them while doing so.

IMG_1217.JPGIMG_1218.JPGIMG_1219.JPGIMG_1220IMG_1239.JPG

Note that I didn’t add a little round part on the very top of the building as I simply liked the building more without it.

Since I most likely was one of the first people to order this lovely set (I just couldn’t resist as I saw it..) my order came with a little flaw. One side of the Entrance Section’s roof wasn’t mirrored, but had the same surface as the right side, which ment once glued in place it had no texture on the upper side, but on the lower side.

I think it’s at this point that I should mention the wonderful Customer Service that Customeeple has. I had contacted them about a problem with shipping fees being charged although I had ordered above the “No shipping fees” threshold, and I had gotten the shipping fees refunded the same day.

And once I wrote them about the wrong roof print (more to warn them and help them improve their product than to receive a replacement since I had already finished painting that part at the time), they instantly sent me the correct replacement part free of charge, and also included another set of Plastic Parts for the roofs.

Now the last part might be important because I originally thought that the colour of the roof lights would always be Orange (which I liked) but it turned out that these parts are made of left over parts from production, and the colour can thus vary depending on what they previously did (which is why I received a bit of a mix, and mostly neon yellow parts instead of orange).

Once I mentioned that I would have prefered the Orange ones they sent them to me free of charge with the corrected roof part, and informed me that if I ever wanted a specific plastic colour, I should simply tell them when I make the order so they could assure I would get the one I like right away.

So keep in mind, if you want a specific colour for the Neon Parts of your order, let them know in advance and they’ll be happy to deliver if possible.

Also the guys from Customeeple where very friendly during our E Mail conversations, and answered within a day or two at most. (Beware however, some of their E Mails can end up in your Spam Folder!)


Now, onwards with the Review!

Once you have assembled this behemoth of a terrain piece, it’s time to paint it up. Once again I painted this thing by hand, and went for a dirty look to fit into the style of my other terrain. Also I went for a more old fashioned colour scheme since I wanted it to look more than an old Japanese Castle than a High Tech Castle, because that’d fit in quite well with my ongoing Story and Characters.

(As always, Models are not included and are only there to show scale)

The Forbidden Fortress Painted:

IMG_1523.JPGIMG_1525.JPGIMG_1527.JPGIMG_1528.JPGIMG_1531.JPGIMG_1534.JPGIMG_1536.JPGIMG_1539.JPGIMG_1541.JPGIMG_1543.JPGIMG_1546.JPGIMG_1547.JPGIMG_1548.JPGIMG_1549.JPGIMG_1553IMG_1558.JPGIMG_1559.JPGIMG_1562.JPGIMG_1565.JPGIMG_1566.JPG

The top part of this can be removed and is actually the roof of the lower floor building.

There are also small doors that can be used to fill the hole in the floor should you want to.

IMG_1567.JPG

IMG_1570.JPGIMG_1571IMG_1573IMG_1577IMG_1579IMG_1583.JPG

The painting of this giant was actually rather easy, although it took a LOT of time to do it by hand, and ate quite a lot of paint as well (as is to be expected).

The lowest level (command room) has some of the best doors for Infinity terrain I have ever seen so far. The bigger ones slide in nicely and unlike many other doors they don’t fall over at all, and the other two doors even come with magnets to attach them, which is just neat!

There are small doors between each building which allow for vertical movement should one desire to do so inside of the building.

The thin roof sheets once painted are actually quite durable, and have so far survived 2 small falls without any damage (thank you son…thank you very much!), however the plastic dragons on the sides are EXTREMELY fragile (and look extremely awesome!) so beware, they do NOT survive a fall at all, and one of them has already lost an arm for me, which I couldn’t find anymore to reglue. (once again, thank you son…thank you VERY MUCH!….)

If you don’t glue the small hut on the top to the building below it is very wobbly and falls off easily, currently I haven’t glued it on yet, but I am seriously thinking about it, as it makes transporting this giant piece of terrain even harder (if you are as lazy as me and don’t want to deassemble it everytime..)

Also Customeeple has learned from their previous buildings with this one I think, every building comes with a nice looking floor, and every roof (except the very top small hut) is detachable.


To sum it up, the Forbidden Palace is just AWESOME! The best piece of Infinity Terrain I have seen so far. It is gigantic and takes up a good chunk of your table, blocks a lot of lines of sight, gives you a lot of levels to play at and looks just gorgeous. It also provides good cover and fits into the Infinity Universe perfectly.

Small problems with the assembly aside everything fits in nicely and the fact that it can be split into several smaller pieces of terrain as well is just icing on the cake.

I didn’t think I’d go there so fast, but this terrain is in fact a 10/10 for me, just perfect.

I would recommend it for every Infinity player if it didn’t have such an obvious Yu Jing Style, which most likely would look odd in an Ariadna Jungle Camp, but if you can find a reason to have a giant Yu Jing Castle standing on your table, GO FOR IT, it doesn’t get any better than this for this price I think.

Customeeple Review Part 3: Neon City Yu Jing B [2 Big Buildings Pack]

Hello Everyone,

In this Part I will take a look at the Neon City Yu Jing B (2 Big Buildings Pack) Set from Customeeple:

http://www.customeeple.com/product/neon-city-yu-jing-b-big-buildings-pack

Big Buildings.jpg

The Set comes with a short instruction sheet which details the most important parts of the assembly.

It can also be downloaded should you lose the original or prefer a digital version:

Click to access Neoncity-Yujing-Big.pdf

Buildings after Assembly:

IMG_1232IMG_1233

The Set  comes with a sliding door for the Samurai Bar (which can be assembled to be movable) and each building can also be assembled with a removable door, ventilators (one big and one small) for the roof, a removable hatch into the building, and ladders for the side of the buildings.

The Assembly was quite easy, although one part of the Dragon Building (the one with the many small lanterns) was a bit odd as you had to deliberatey leave a slit between two walls to later on add a Neon Panel there. I still couldn’t figure out how to make the roof walls fit without leaving small slits on the edges, but again I guess I just didn’t figure out how to do it properly.

There was however a “big” problem with this Kit, the Neon Parts all where too thick for the actual slits they where supposed to slide into, and a bit of cutting was required to make them fit properly.

IMG_1215

Once I had dealt with that however everything fitted together quite well and the end results speak for themselves I think.

(Miniatures are not included, they are just used for scale)

Just like with Part 1 and Part 2 , I painted the building by hand and went for a dirty look to fir with my other buildings and the theme I had in mind.

Samurai Bar Building Painted:

IMG_1485.JPGIMG_1489.JPGIMG_1495

(Wallpaper not included, but the walls take them nicely!)

IMG_1497.JPGIMG_1501.JPG


Dragon Red Lantern Building Painted:

IMG_1503.JPGIMG_1504.JPGIMG_1509.JPGIMG_1513.JPGIMG_1516


Both Buildings together:

IMG_1518.JPGIMG_1522.JPG

Painting this buildings was really easy I have to say, and the Neon Signs add a lot of detail and style to the buildings even if the paintjob isn’t that good (like in my case ;-P)

As with all other buildings of the Neon City Range I once again would have greatly prefered the buildings to have actual floors and detachable roofs, but since the buildings are bigger when compared to the entrances, the floor doesn’t shine through as obviously as with the other smaller buildings I think.

I would have loved for the Red Lantern Building to also have a Lantern on the short side of the building, just to have a consistent outside look, but that’s just a very small gripe.


Alltogether I am once again very happy with this Set, it’s big and covers a good chunk of the table in a good looking maner, it provides good cover and looks very stylish and fits the Infinity Universe very good.

The too big Neon Signs for the slits, the missing lantern on the short side, and the fact that this Set, unlike the smaller 2 Sets from Part 1 and Part 2, doesn’t include any nice supplementary terrain like a stair or maybe small bridge, lowers my score a little bit, which leads me to an Endresult of 8,5/10.

This is a great product that I would easily recommend to any Fan of Yu Jing Style Infinity Terrain, and if I would have to pick between any of the 3 Sets from Part 1 to Part 3, I would most likely pick this one.

Customeeple Review Part 2: Neon City Yu Jing S Octopus + Dojo

Hello Everyone,

In this part we will take a look at the Customeeple Building Set “Neon City Yu Jing S Octopus + Dojo”:

http://www.customeeple.com/product/infinity-modular-buildings-yu-ying

For a closer look at the assembly and instructions that come with the set, please look at Review Part 1 as the two sets are almost the same and share mostly the same merits and problems when it comes to assembling.

The Instruction Sheet for this Set can also be downloaded from the Customeeple Homepage should you lose it or prefer a digital version:

Click to access Neoncity-Yujing-Octopus-Dojo.pdf

In this Set I didn’t see any real differences between the Instruction Sheet and the real product I got, except the 1 missing roof wall I mentioned in Part 1.

IMG_1235.JPG

IMG_1236

IMG_1238.JPGThe Set  comes with a row of chairs for the small restaurant, a sliding door for the dojo (which can be assembled to be movable), a stairway to the roof, and each building can also be assembled with a removable door, ventilators for the roof, a removable hatch into the building, and ladders for the side of the buildings.
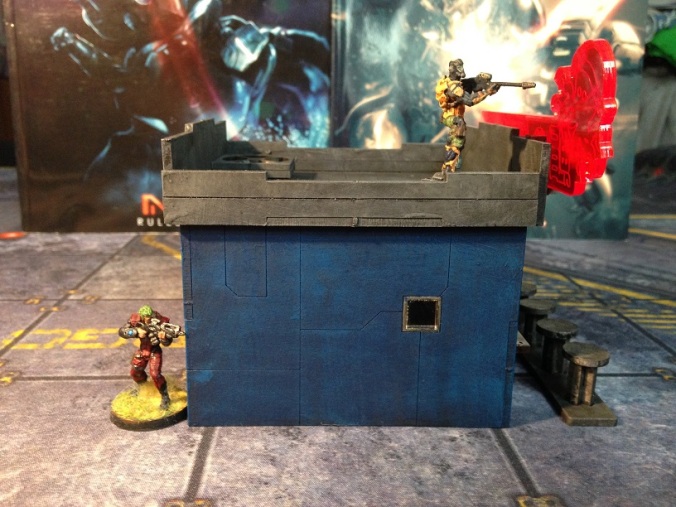
Just like with the Sushi + Bonsai Set from Part 1, I painted the building by hand and went for a dirty look to fir with my other buildings and the theme I had in mind.

(Miniatures not included and only for scale)

Octopus Building Painted:

IMG_1445.JPGIMG_1451IMG_1454.JPGIMG_1457.JPGIMG_1461.JPG


Dojo Building Painted:

IMG_1464.JPGIMG_1466.JPGIMG_1469.JPGIMG_1473.JPGIMG_1474.JPG

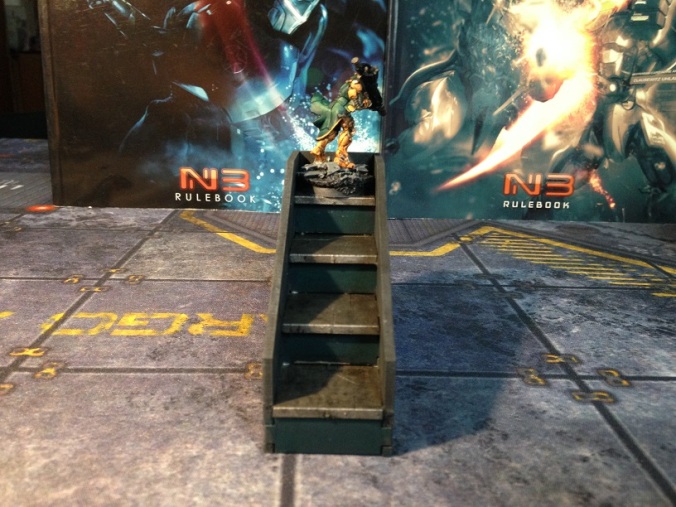
Stairs Painted:

IMG_1478.JPGIMG_1481.JPG

Buildings together:

IMG_1482IMG_1483

Just like with the Sushi + Bonsai Set I would have greatly prefered for the buildings to have a floor and detachable roofs, but that aside I am quite happy with the buildings themselves.

The Dojo looks a bit “old school” for Infinity, and mabe a little bit of a futuristic touch would have helped it along (Maybea Neon Dojo Sign  on the side or something along those lines?), but then again that has it’s own charm and I ended up liking it.


All in all I am also very happy with this Set of buildings. The size is perfect, they fit good into the Infinity Universe, it combines good with other terrain, and is very playable.

With the practice from the first set I had even less problems with assembling the kit (although the small gaps on the roof walls remain..) and like before they are easily outshined by the end result.

I’ll give this set a 7.5/10, slightly lower than the Sushi + Bonsai Set because I think the Dojo could do with a little more Neon, but once again I would recommend this set for anyone who is a fan of Yu Jing style buildings!